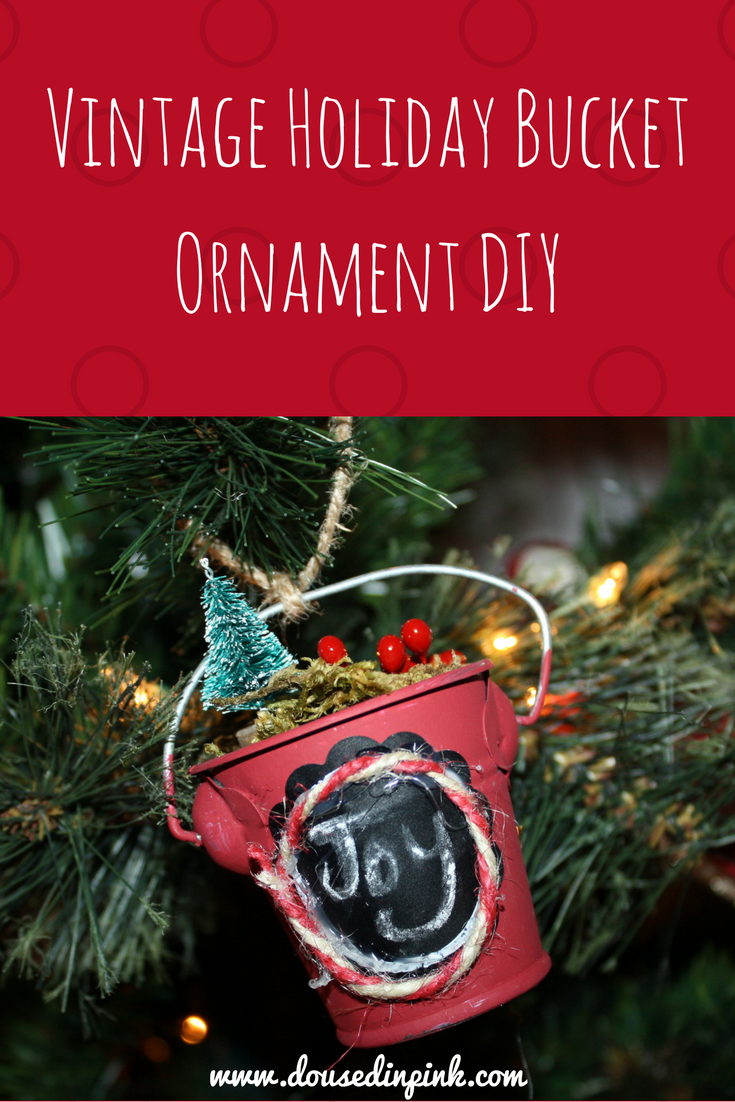
I’m excited today to be joining a few of my blogging friends to launch a special holiday series! Today’s theme is Holiday Red-y! Stop by all of our blogs for holiday red-y outfits, DIY, and home decor! Today I’m sharing a cute red vintage bucket ornament DIY.
Every year my family hosts a holiday craft day. It’s a fun and relaxing way to spend extra time with them. The best part is that they leave it up to me to plan what we are going to make. I got the idea for this red vintage bucket ornament when I saw something similar on a larger scale browsing Christmas decorations recently. We also made THIS wreath and THIS ornament.
Red Vintage Bucket Ornament DIY Tutorial
~ Project Supplies ~
Embellishments
Scissors
~ Ornament Instructions ~
Paint the bucket with 2 – 3 coats of red paint. Let dry in between each coat.
Once the paint is dry, center and apply a chalkboard sticker onto the bucket.
Cut a piece of baker’s twine the diameter of the sticker. Adhere the twine to the sticker with a glue gun.
Cut a piece of floral foam and insert it into the bucket.
Put a few drops of hot glue on the floral foam and add moss.
Adhere your choice of embellishments with your glue gun.
Write on some holiday cheer or a message with a piece of chalk.
Cut a 2 – 4 inch piece of twine and tie it onto the bucket handle to hang.
That’s it! I love how it turned out and the vintage vibe!
To see how each of the ladies in this collaboration is styling red this holiday season, stop by their blogs using the links below the image, or to make your way through each blog in the series head to Jacqueline next!

On the Daily Express | Pinksole | Doused in Pink | Stylin’ In St. Louis | More Pieces of Me

As always, thank you for reading!
If you liked this post, you can subscribe here or follow me on Feedly | Bloglovin | Instagram | Pinterest | Facebook
Linking up here.


Leave a Reply