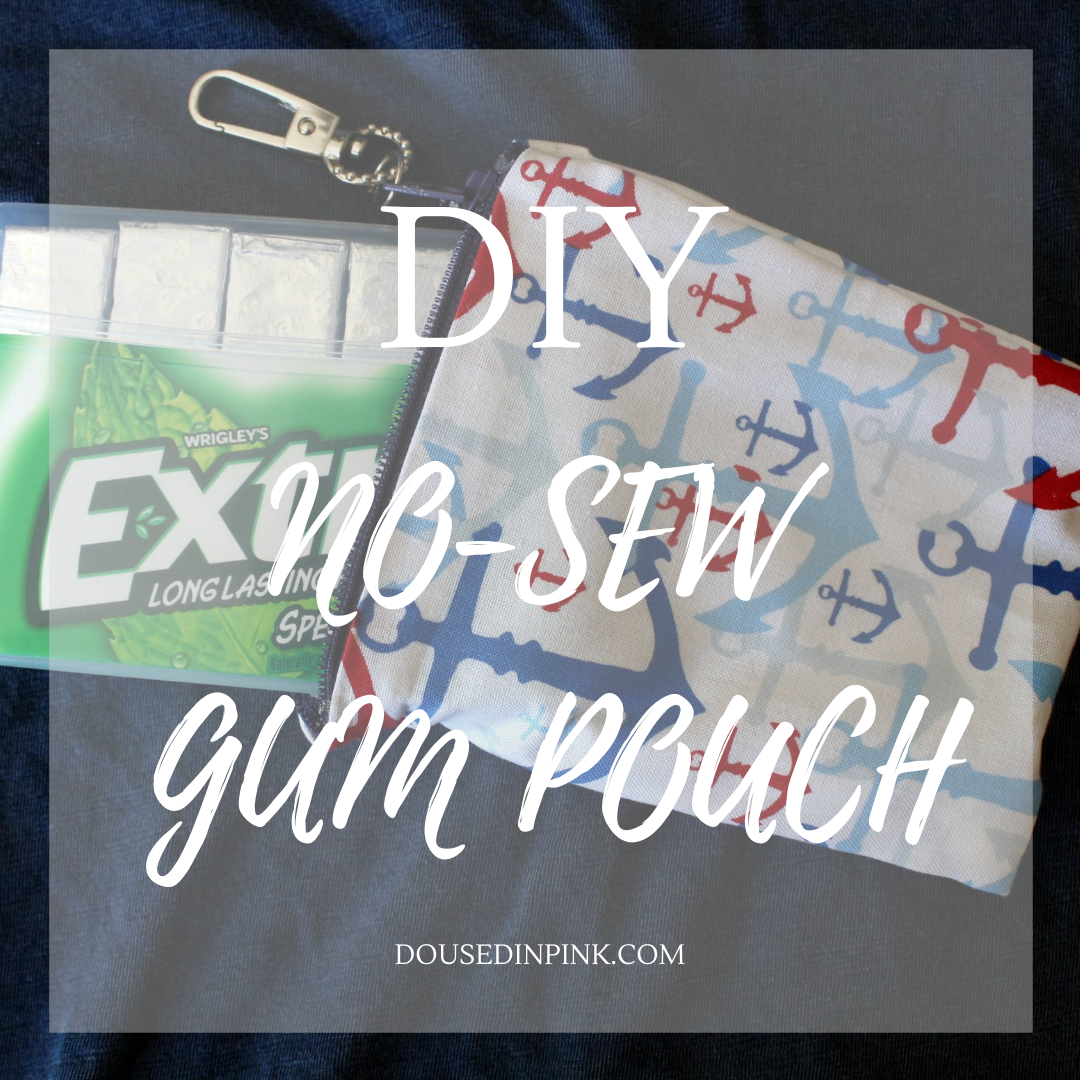
Our family is always on the go, and as avid gum chewers, a supply of gum is a must-have. And, I’ve found the best way to keep it handy is a chewing gum case. Today I wanted to share my easy DIY zipper pouch tutorial.
Gum makes me think of one of my favorite childhood movies, Willy Wonka. Violet, one of the popular characters in the film, says this about chewing gum: “Well, I’m a gum-chewer, normally, but when I heard about these ticket things of Wonka’s I laid off the gum and switched to candy bars instead. Now, of course, I’m right back on gum. I chew it all day except at mealtimes when I stick it behind my ear”.
Violet goes on to take a piece of gum that is made to taste like tomato soup, roast beef, and blueberry pie with unexpected consequences. While I don’t want a piece of gum that tastes like a three-course meal, I do want a minty variety on hand for me to chew when I’m running from work, activities, and errands.
This post has been compensated by Collective Bias, Inc. and its advertiser. All opinions are mine alone. #GIVEEXTRAGETEXTRA #Walgreens #CollectiveBias
Wrigley’s Extra® now comes in a new 35-stick pack! With better packaging that is durable and recycled, it will hold up to all of the tossing around it might endure in your purse, bag, or desk. With more than two packs of gum now in one package, It’s the perfect size to give you more to share and Give Extra, Get Extra!
I found my minty favorites, the Extra® Gum Spearmint, and Extra® Gum Polar Ice® in the gum and mint aisle when I was at my local Walgreens. The more gum, the better, and you won’t run out with these new Extra® 35-stickpacks that have more gum for sharing with friends and family!
DIY Zipper Pouch Tutorial
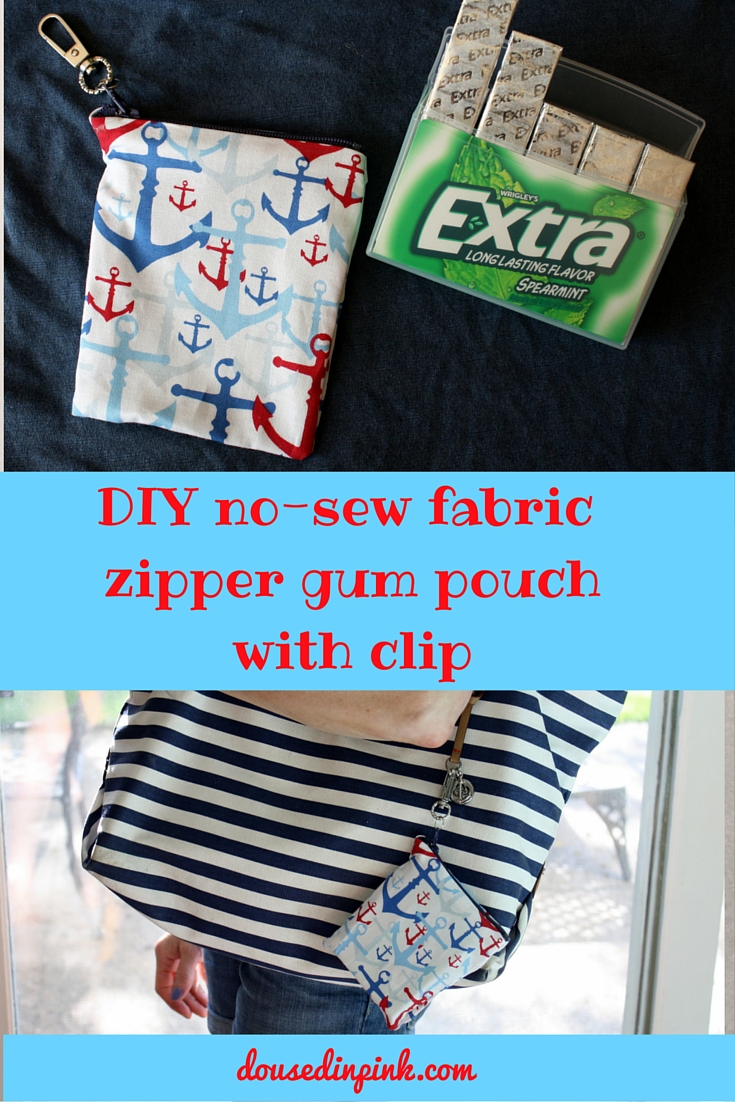
I’m constantly asked, “where’s the gum” or “do we have gum,” and then I’m digging through my bag, the pantry, or the car trying to find it. I thought, what better way to have your gum in tow and easy to get to than a pouch that clips right to your bag! Follow my easy zipper pouch tutorial to make this cute, little gum pouch without a sewing machine!
No-Sew Zipper Pouch Supplies
8″ x 11″ piece of your favorite fabric
4-inch zipper
2 – 3 medium size jump rings
Small lobster claw clasp hook
Liquid Stitch
How to Make a Zipper Pouch
Spread out your fabric and make a 1/2-inch fold along all four edges.
Use a ruler or the side of a pencil to smooth it down so that it stays in place.
Place your zipper in the middle of your fabric and line each side of the zipper with Liquid Stitch.
Fold the fabric up towards the center and press the ends into the Liquid Stitch on the zipper. Press down and smooth out. Let dry for 30 – 45 minutes.
Once dry, turn your fabric inside out. Unzip the zipper. Use Liquid Stitch to close the sides of the pouch. I applied about 1/2 inch of Liquid Stitch to each side.
Press down and smooth out. Let dry for 30 – 45 minutes.
Once dry, turn your bag right side out. Attach a jump ring (as many as you prefer) and the claw hook. That’s a wrap for my zipper pouch tutorial! You’re done!
Insert your gum into the zippered pouch and clip it to your bag!
Don’t forget to look for the Extra® 35-stick pack in the checkout aisle on your next trip to Walgreens.

Thank you for reading my zipper pouch tutorial! Let me know if you make one!
Also see: 5 Minute Plaid Pumpkins and 3 Simple Farmhouse DIYs
If you liked this post, you can subscribe here or follow me on Feedly | Bloglovin | Instagram | Pinterest | Facebook


Leave a Reply