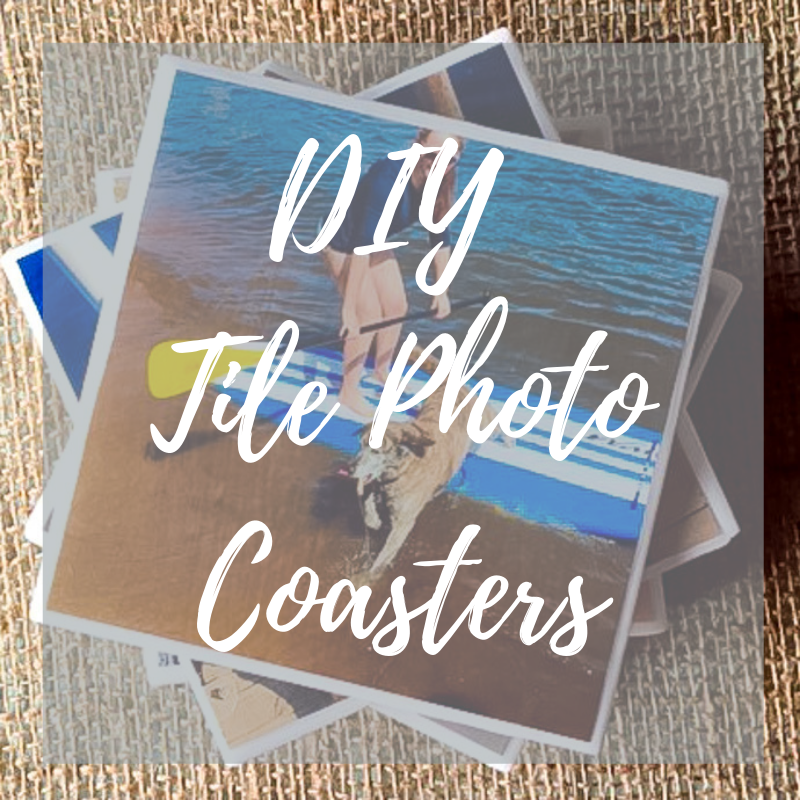
I’m always looking for ways to brighten up a room with small details. We’ve had our coasters in our living room for years, and I’ve wanted some new ones. Instead of hitting the home decor shops, I thought it would be fun to make them myself using the photos from our trip to Saugatuck a few summers ago. This DIY photo coaster tutorial is quick and easy and costs less than $5 to make! You’ll want to make some for your friends and family too!
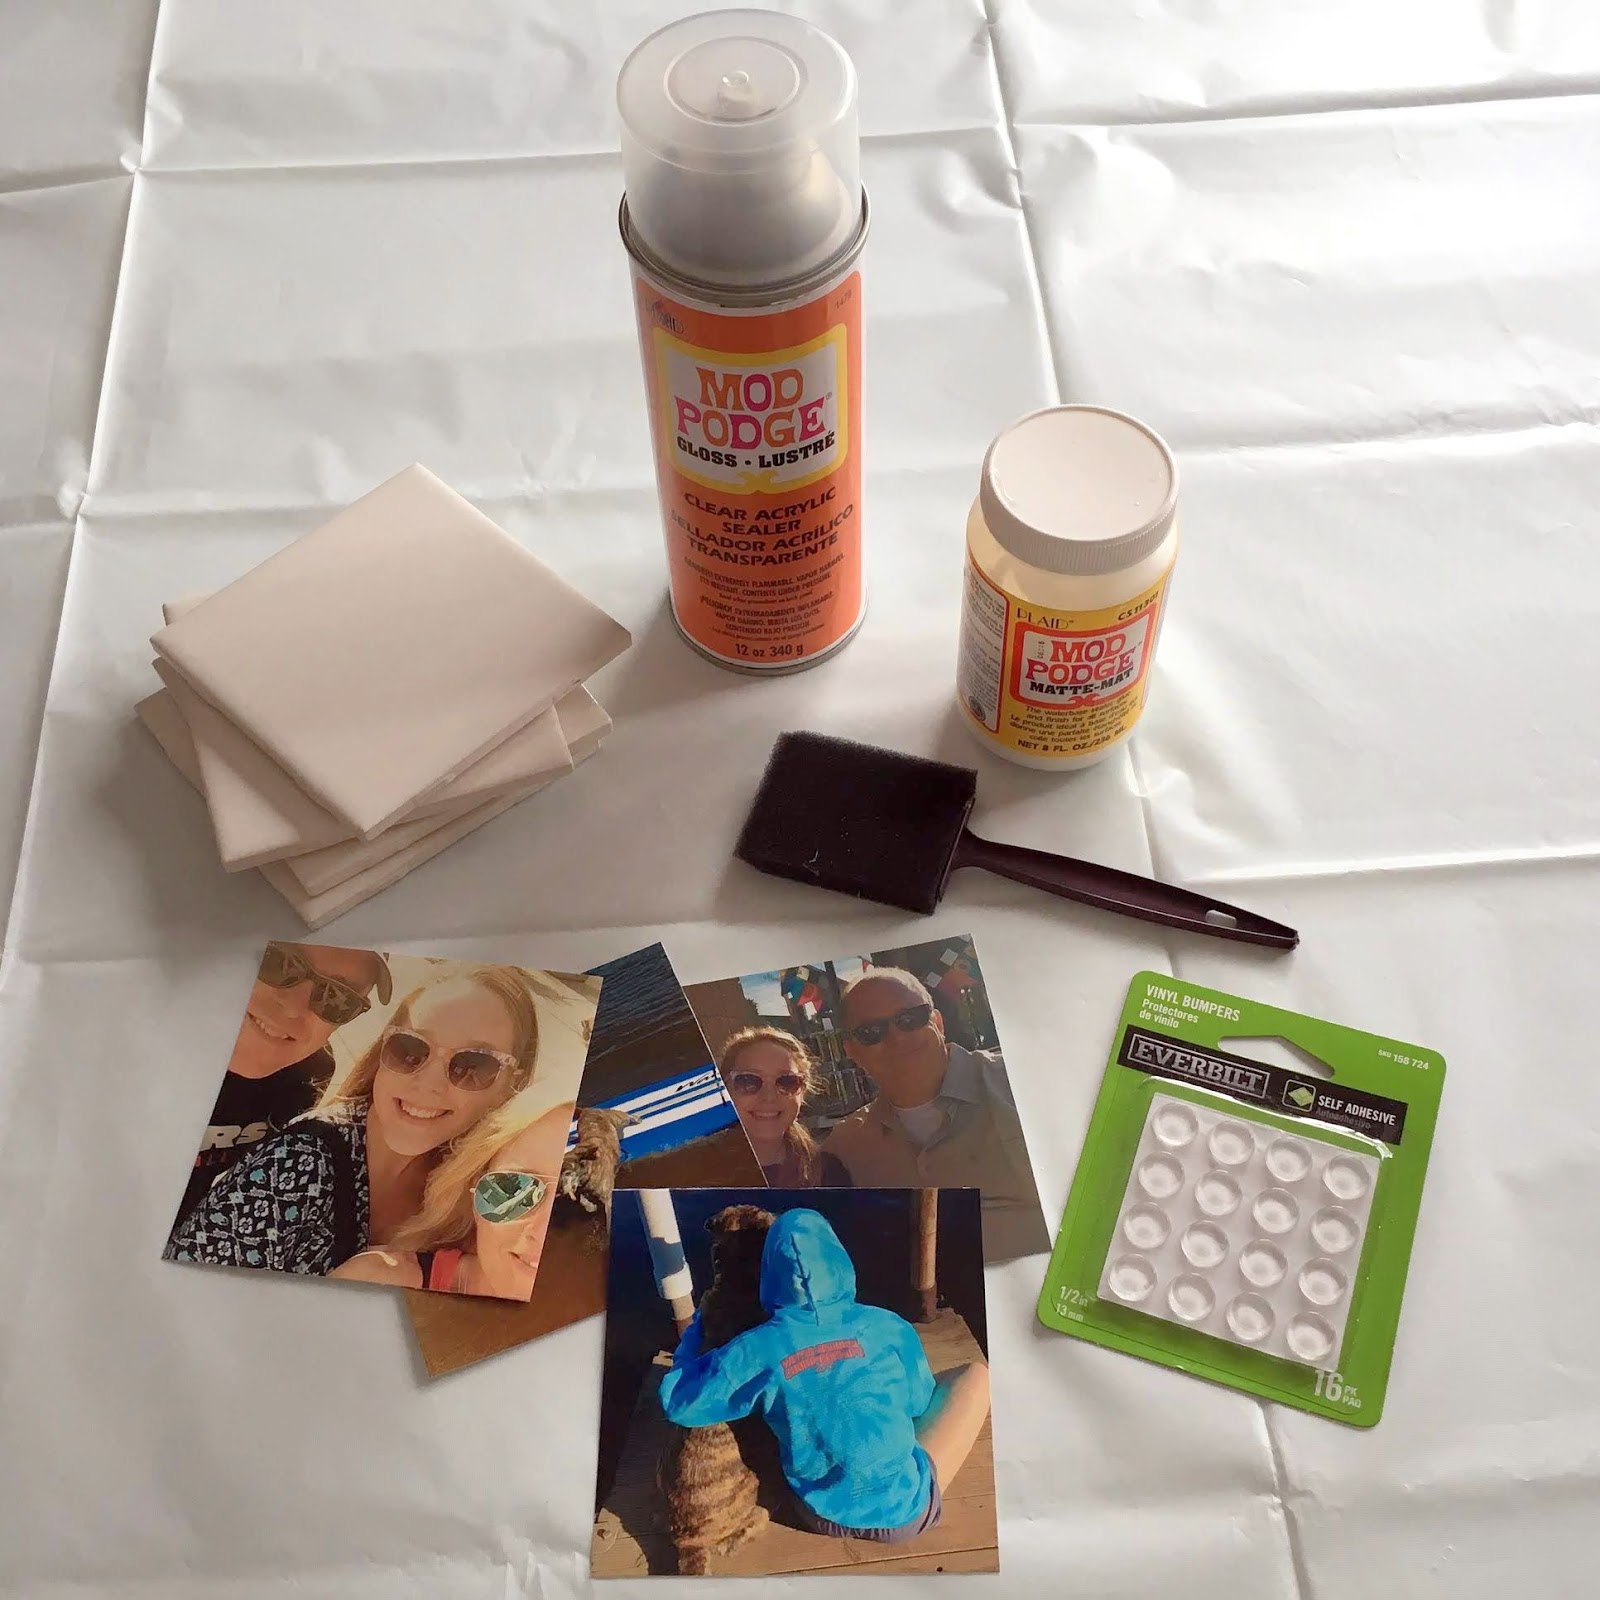
~ Supplies ~
4×4 ceramic tiles (you can get these for 20 cents at Home Depot)
Photos cut to 4×4
Foam brushes (get a bag of them at the Dollar Tree for $1)
Mod Podge
Acrylic sealer
Small felt or vinyl pads

~ Instructions ~
Using a foam brush, apply a layer of Mod Podge on a tile and then center and press your photo onto the tile. Allow to dry completely.

When the first step is dry, apply a layer of Mod Podge over the top of the photo using even strokes. Repeat two more times. Allow each coat to dry completely.
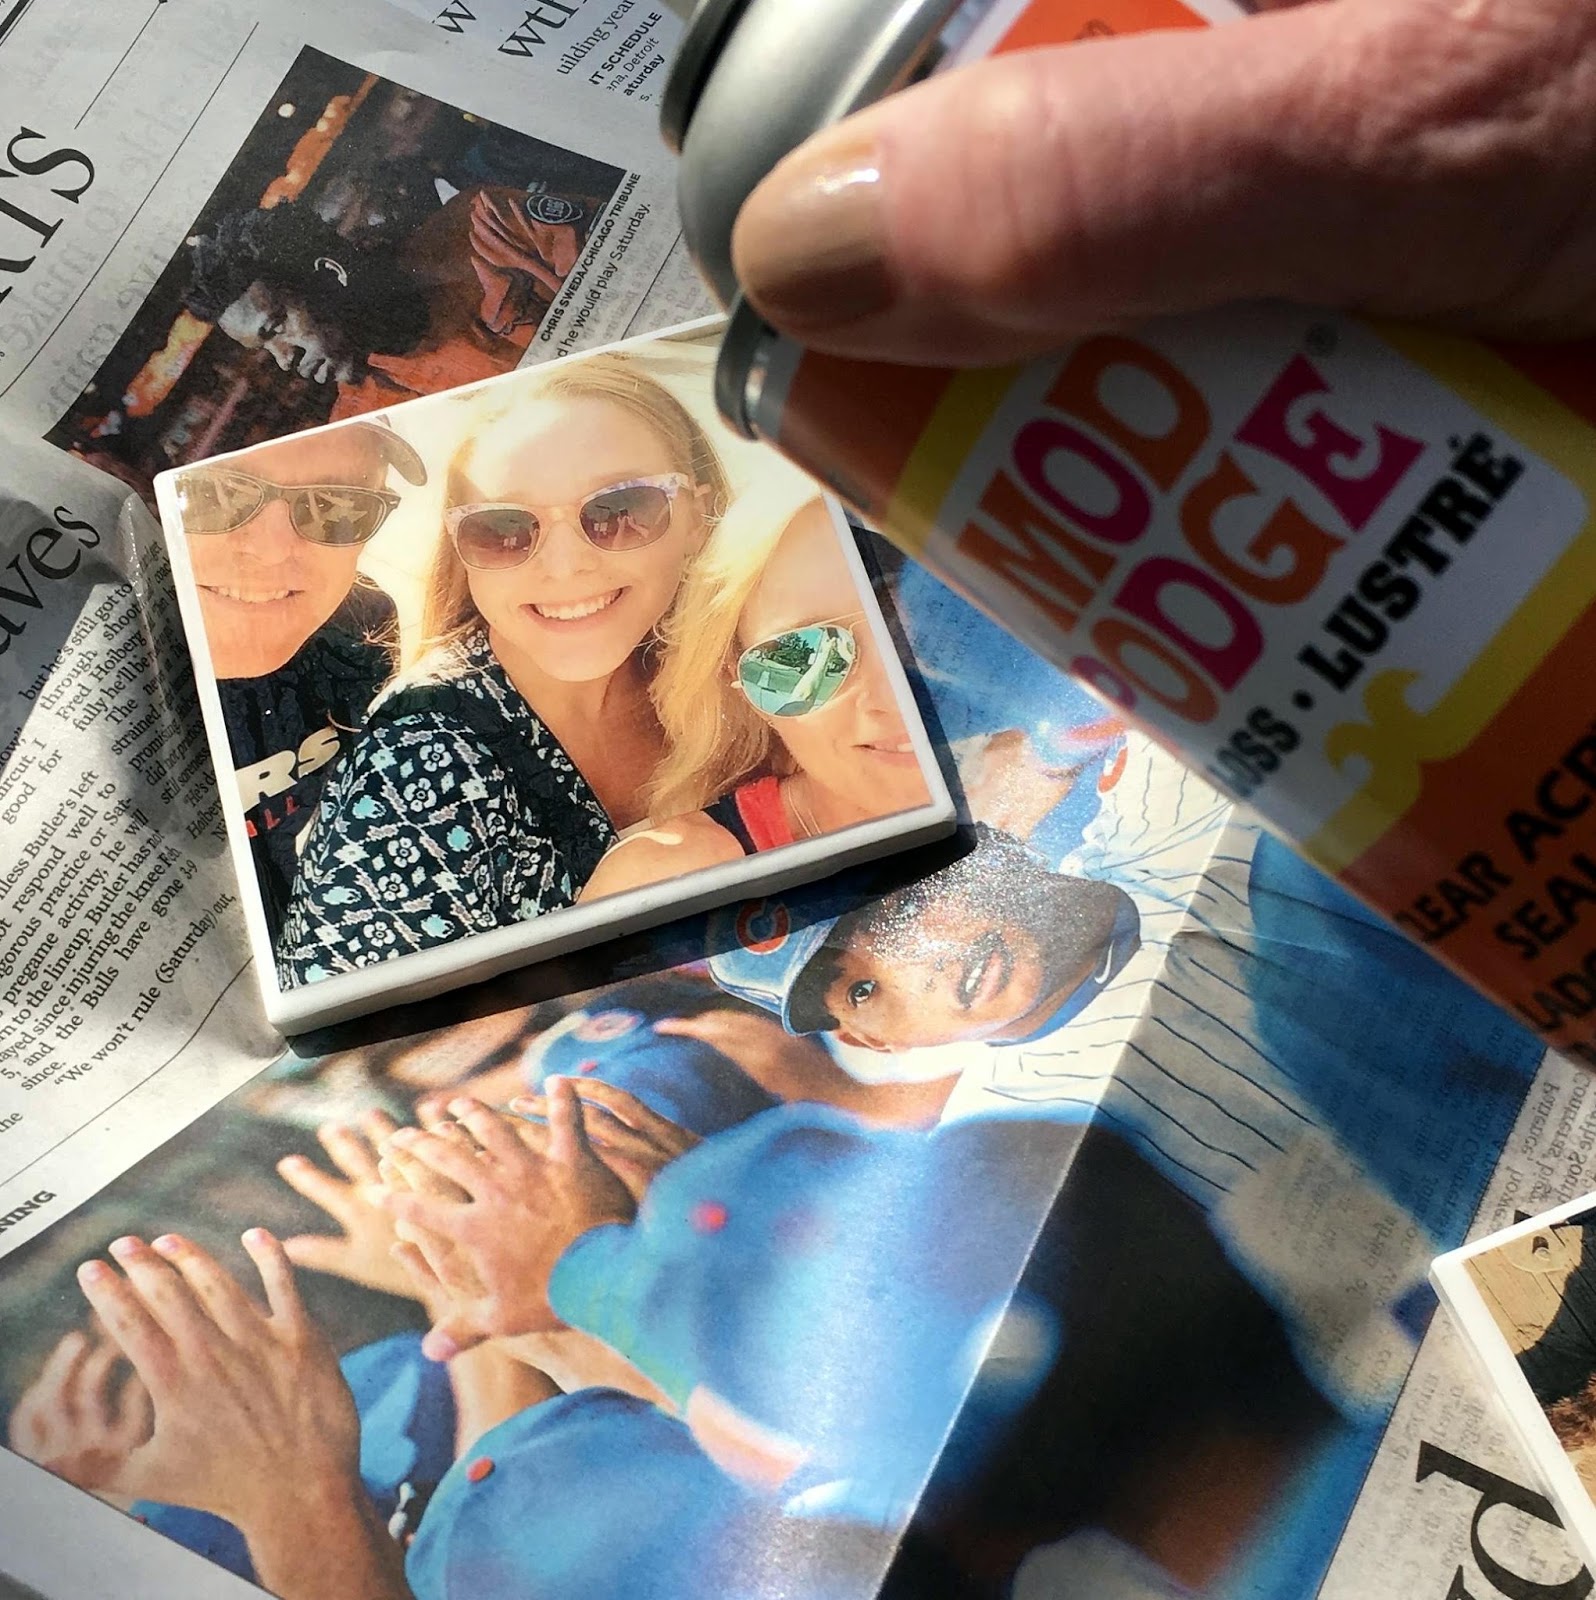
In a well-ventilated area, spray with the acrylic sealer. This step will seal the coaster and ensure it’s waterproof. Repeat four times, allowing to dry completely before applying the next coat.

Adhere the felt or vinyl pads to each corner on the back of the coaster.

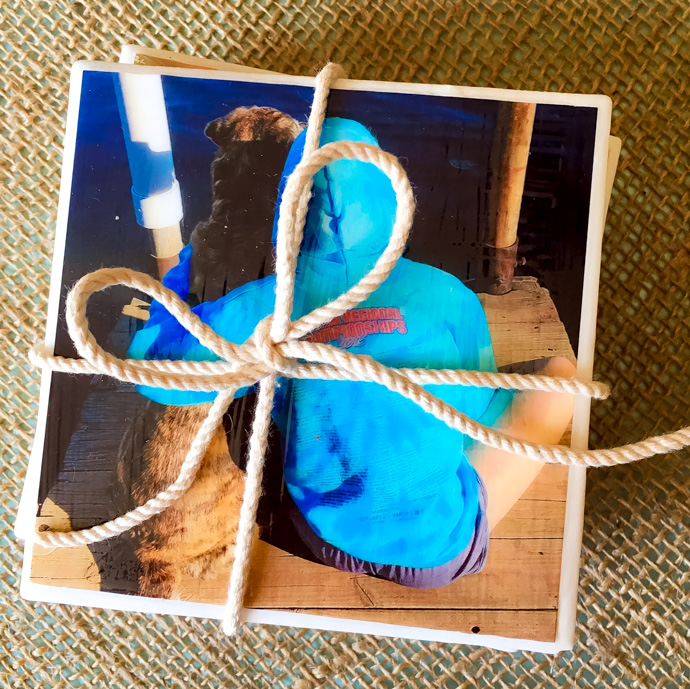
That’s it! They were fun to make, and I love that they have a vintage Polaroid vibe.

They’re a great way to share your special memories or give them as a cool photo gift!

Thank you for reading DIY Photo Coaster Tutorial!
Also see: Six Tips for Working from Home Effectively and Fall Skincare Tips for Radiant, Youthful Skin
If you liked this post, you can subscribe here or follow me on Feedly | Bloglovin | Instagram | Pinterest | Facebook
Linking up here.

Leave a Reply