
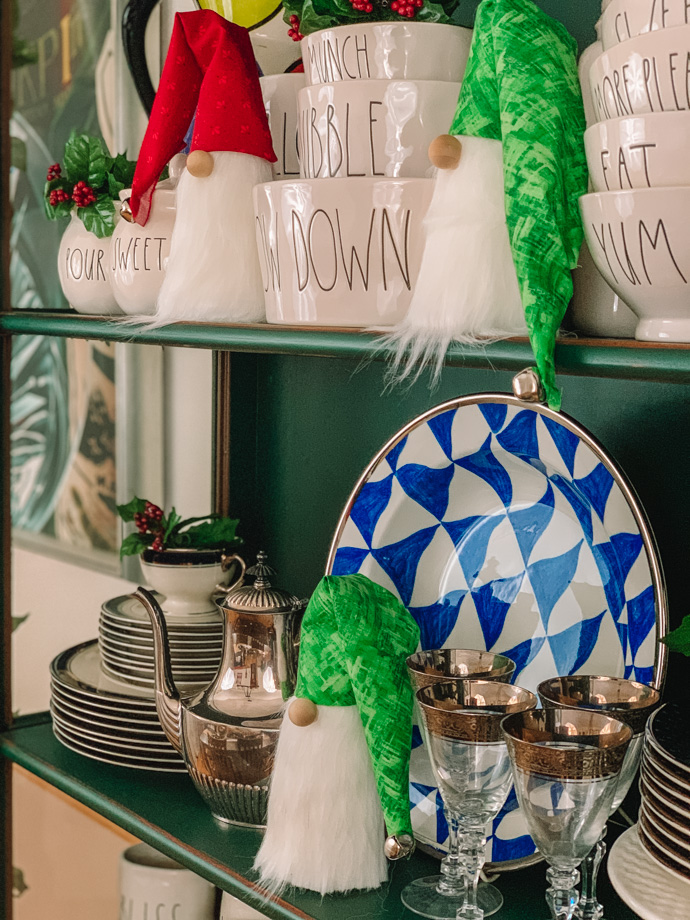
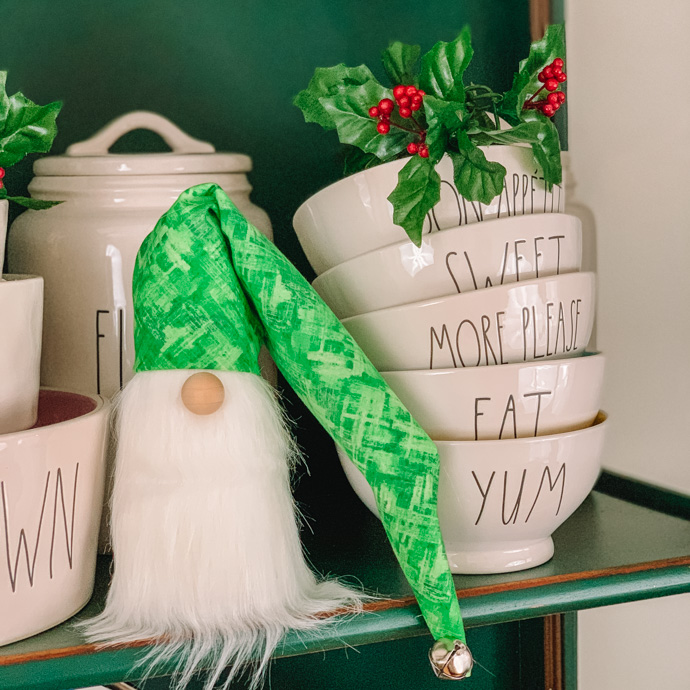
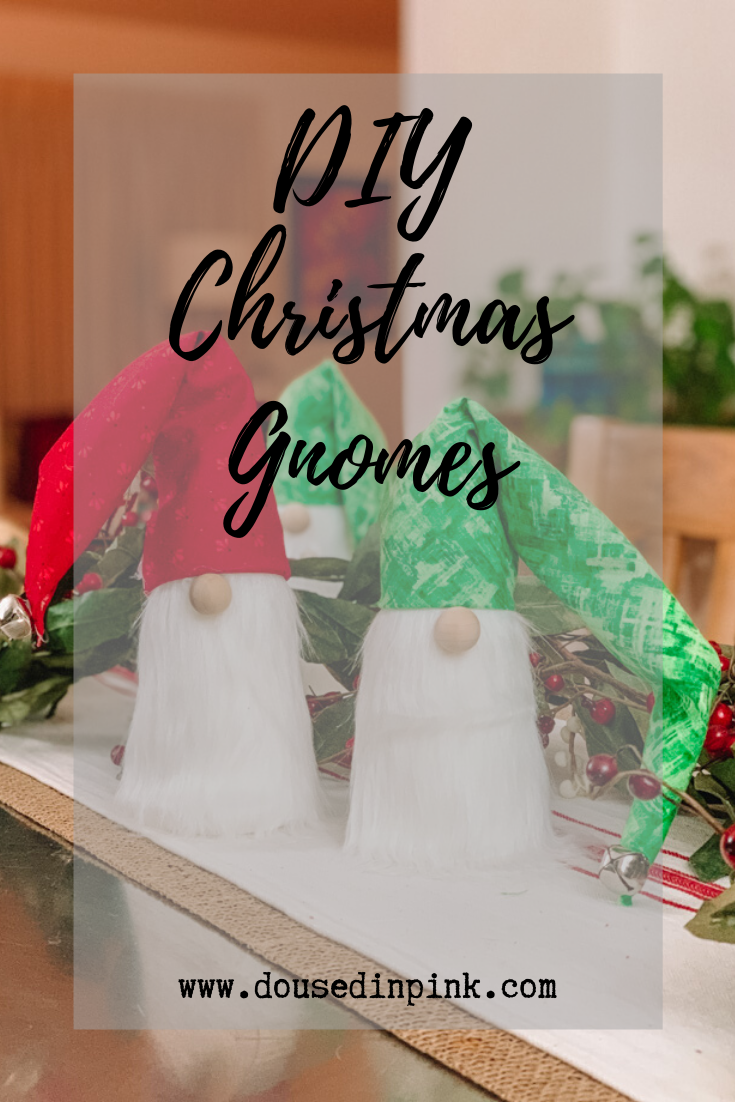
Have you started decorating for the holidays yet? I always decorate Thanksgiving weekend. But, this year, we are celebrating Thanksgiving on Saturday. And I want our daughter to be able to pick out and help decorate the Christmas tree while she’s home that weekend. So, I got a jump start and have most of my holiday decorating complete! Which brings me to today’s DIY Christmas gnome. I love the sweet Christmas gnomes that you see everywhere. They’re whimsical and fit right in with my farmhouse decor. I thought Christmas gnomes would be a fun addition to my Rae Dunn cabinet and decided to make my own. They were so easy to make I wanted to share with you!
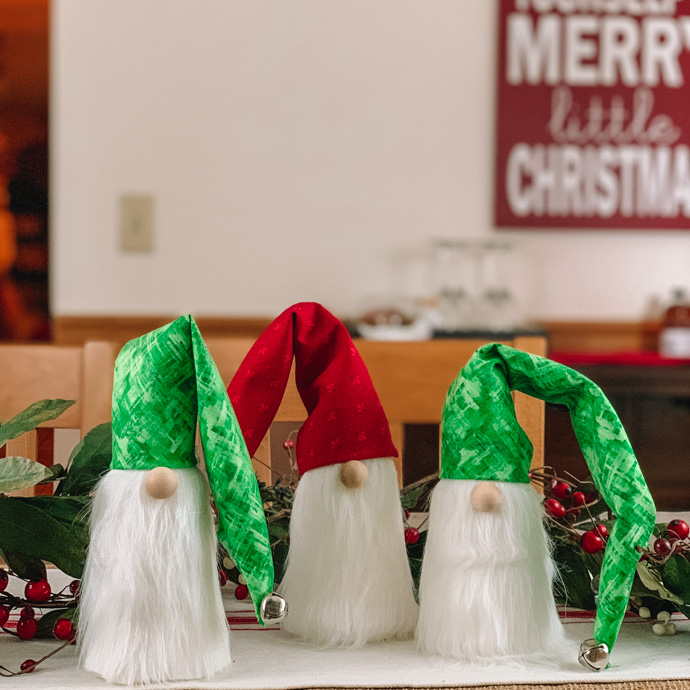
DIY Supplies
Foam Cone (I got mine at Dollar Tree)
Fabric (Hobby Lobby had clearance fabric for less than $3/yard)
Faux Fur Sheet (in the felt aisle)
Wooden Ball
Bell
Scissors
Hot Glue Gun

DIY Instructions
Cut your faux fur sheet in half and then half again, so you have four pieces for the beard. The cut a 10″ x 12″ rectangle of fabric for the hat. Glue the faux fur onto the cone with the fur touching the bottom of the cone.

To make the hat, lay your cone on the fabric lengthwise and then fold each side of fabric towards the middle. Fold again until both sides are overlapping each other.
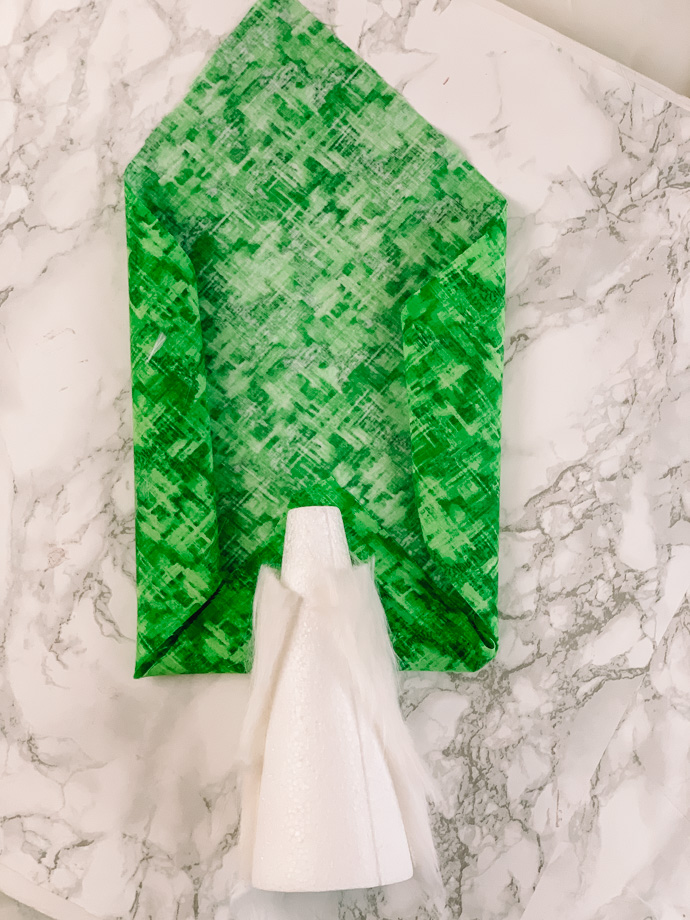
Glue the overlapping pieces of fabric together. Fold the end to a point and glue together.

Glue the wooden ball just under the hat for the nose. Then glue a bell to the tip of the hat.
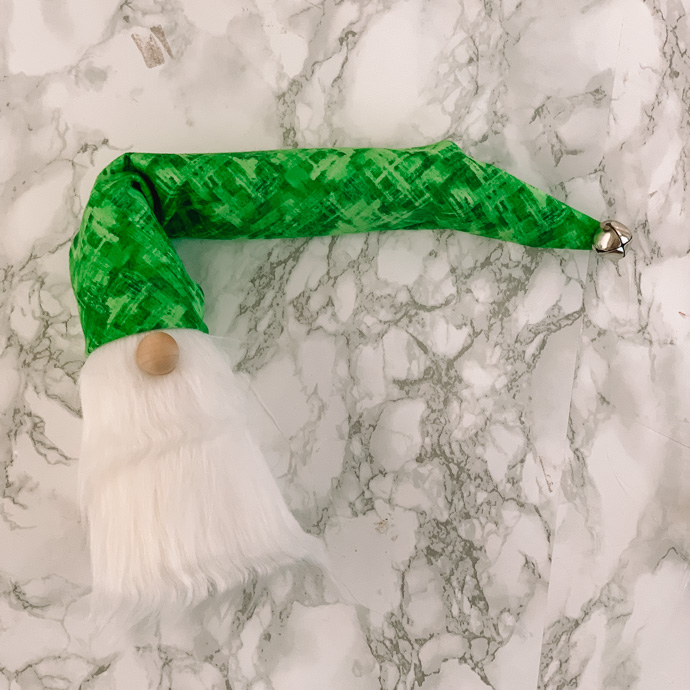
Finally, arrange the hat. Your DIY Christmas gnome is complete!


If you liked this holiday DIY, and want more ideas, check out DIY Vintage Bucket Ornament and Mini Pom Pom Hat Ornaments Tutorial
As always, thank you for reading!
If you liked this post, you can subscribe here or follow me on Feedly | Bloglovin | Instagram | Pinterest | Facebook
Linking up here.


Leave a Reply