
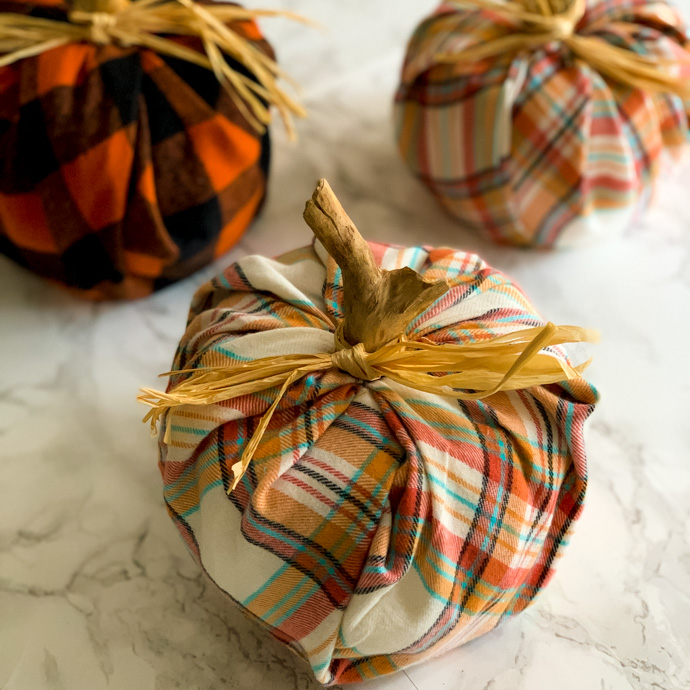
Do you decorate with pumpkins in the fall? I always want to add a few more pumpkins to my collection every year. Today I wanted to share a fun project with you! I have a buffalo plaid wreath on my front door (see my DIY tutorial here). Keeping with the plaid fabric theme, I wanted to share a simple DIY plaid pumpkins tutorial with you.
I originally posted this DIY 2 years ago, and since it’s one of my most popular fall craft posts, I wanted to share it again. Keep scrolling for my easy tutorial on how to make cute DIY plaid fabric pumpkins in only 5 minutes!
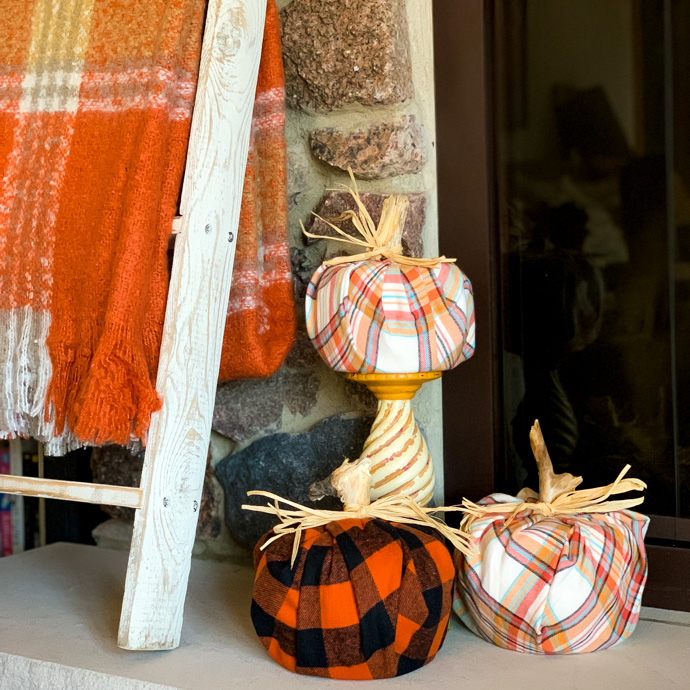
5-Minute DIY Plaid Pumpkins Tutorial
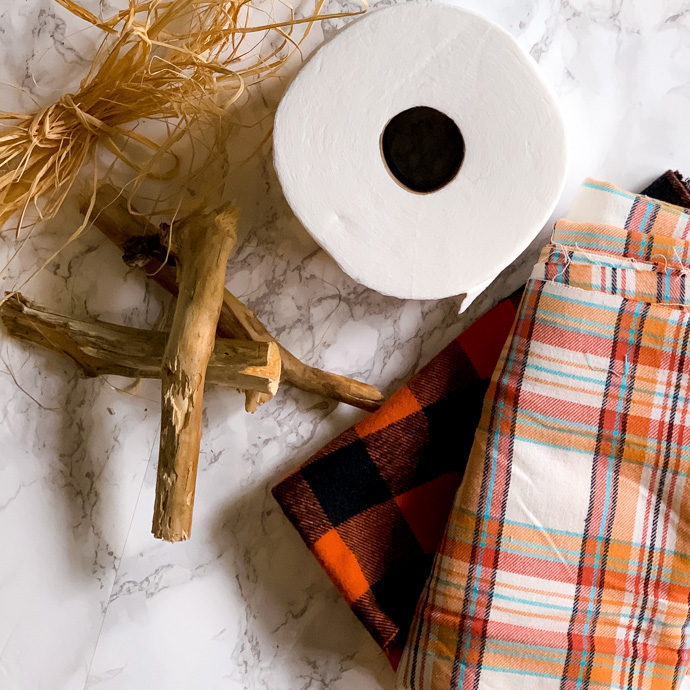
Pumpkin Supplies:
1/2 yard of plaid fabric or fabric of choice (1/2 yard will make two pumpkins)
Mega size toilet paper rolls
4″ – 5″ sticks or twig from your yard (I just went around our yard and picked up a few and then removed the bark)
Raffia ribbon
Scissors
Plaid Pumpkin DIY:
Cut your fabric in half (it will be approximately 22″ square).
Unroll the toilet paper about 10 -15 times, then loosely re-roll it back up, twisting it to have a more rounded shape.
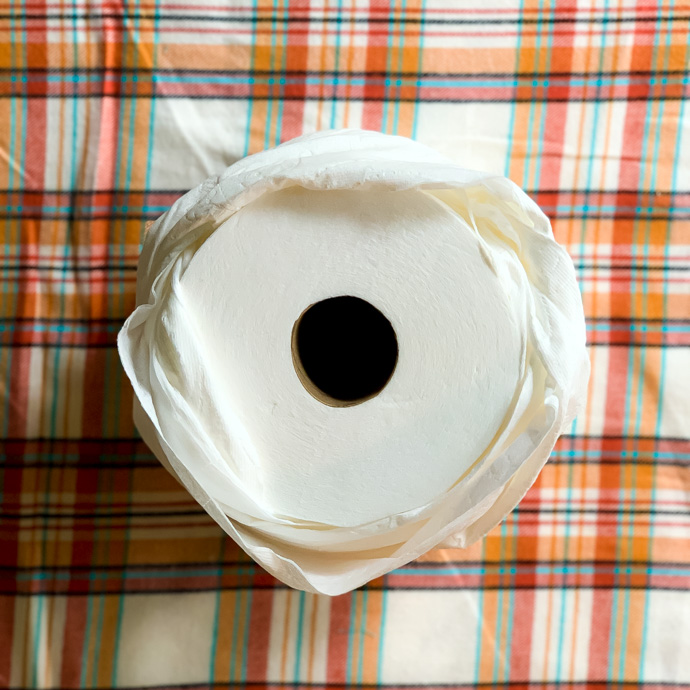
Grab one end of the fabric and tuck it into the center of the toilet paper roll. Continue folding and tucking with the other corners.

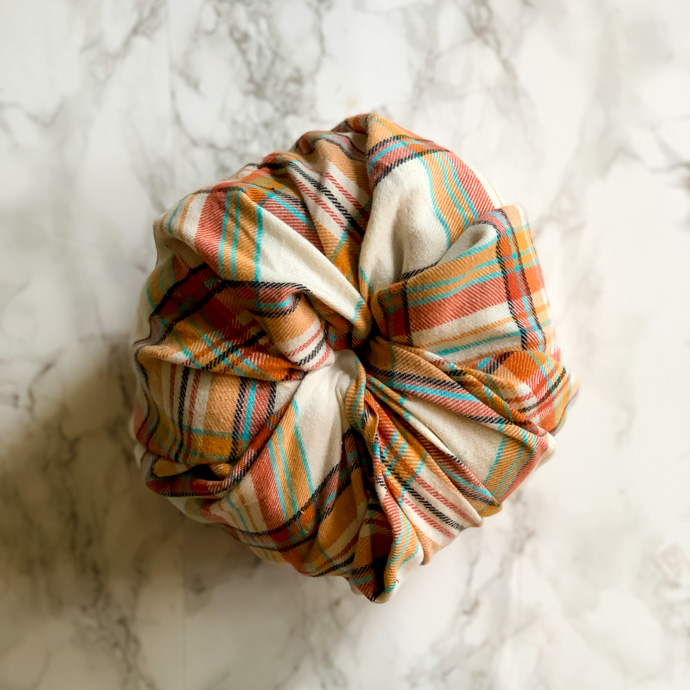
Take a twig or stick and place it into the center of your pumpkin.

Finish off your do-it-yourself plaid pumpkins by tying some raffia ribbon or ribbon of your choice around the stem.

How easy was that? Cute DIY plaid pumpkins in 5 minutes that will add a rustic farmhouse touch to your fall decor!

Thank you for reading DIY Plaid Pumpkins!
For more fall decor inspiration, also see:
Easy DIY Gold Leaf Placecards and Fall Farmhouse Home Tour
If you liked this post, you can subscribe here or follow me on Feedly | Bloglovin | Instagram | Pinterest | Facebook
Linking up here.


Leave a Reply