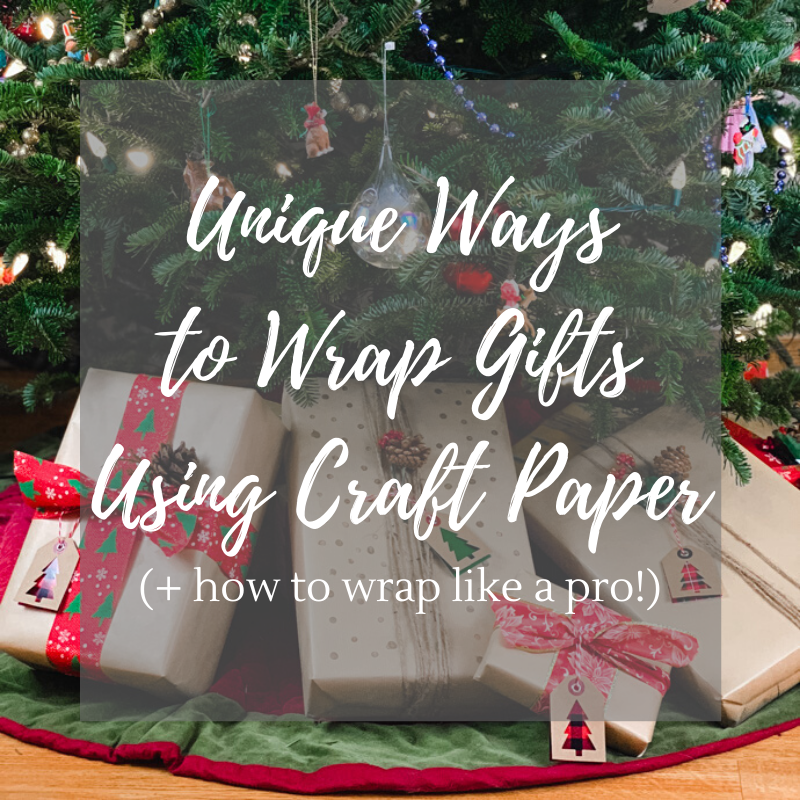
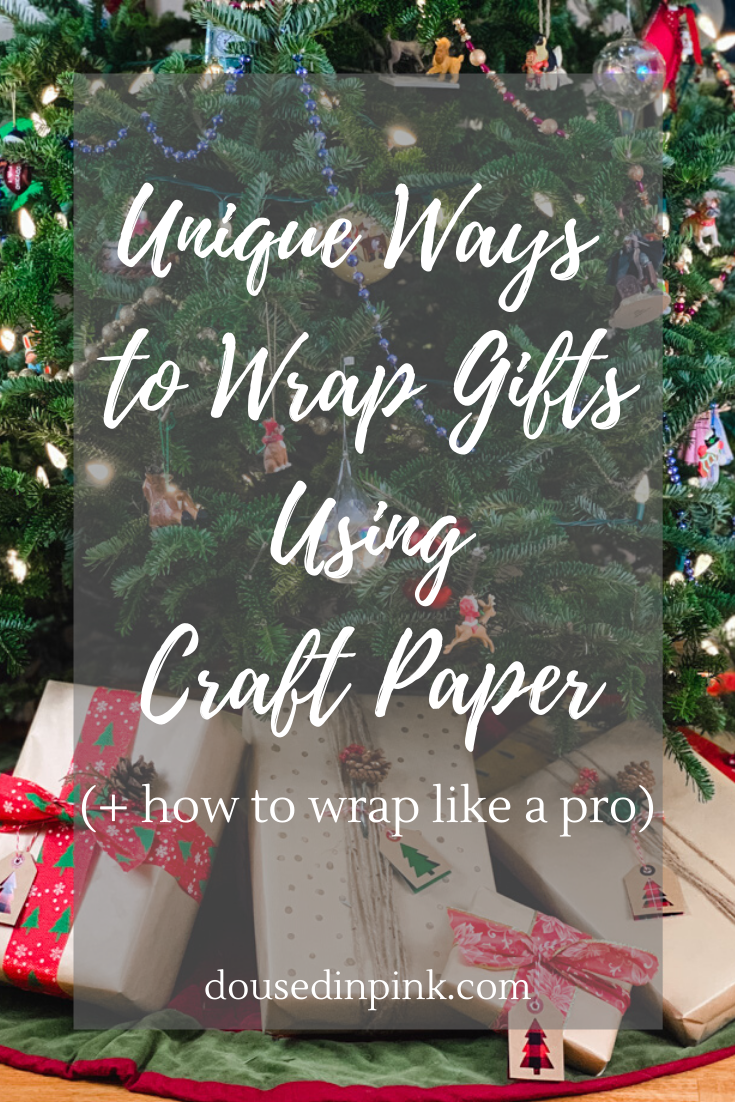
How was your weekend? I had holiday cocktails with a few friends on Friday night and was happy to dress up in this jumpsuit, which, by the way, is going to be my holiday go-to for the rest of the season. You’ll see more of it on Thursday for Thursday Fashion Files! Saturday, my husband and I made a significant dent in our shopping, and on Sunday, we started wrapping gifts. I feel much better now that we accomplished so much! Speaking of wrapping, don’t you agree that there’s something about craft paper that makes a statement? It looks cool, it’s recyclable, and it’s a blank canvas to make your gift unique. So, I wanted to show you 3 unique ways to wrap gifts with craft paper, plus how to wrap presents like a pro!
How to Wrap Presents Like a Pro
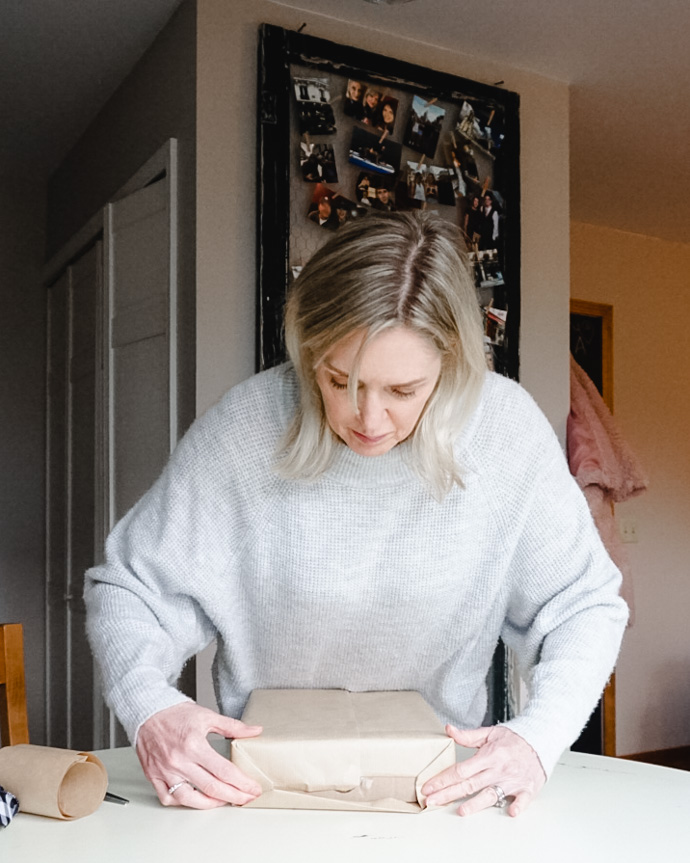
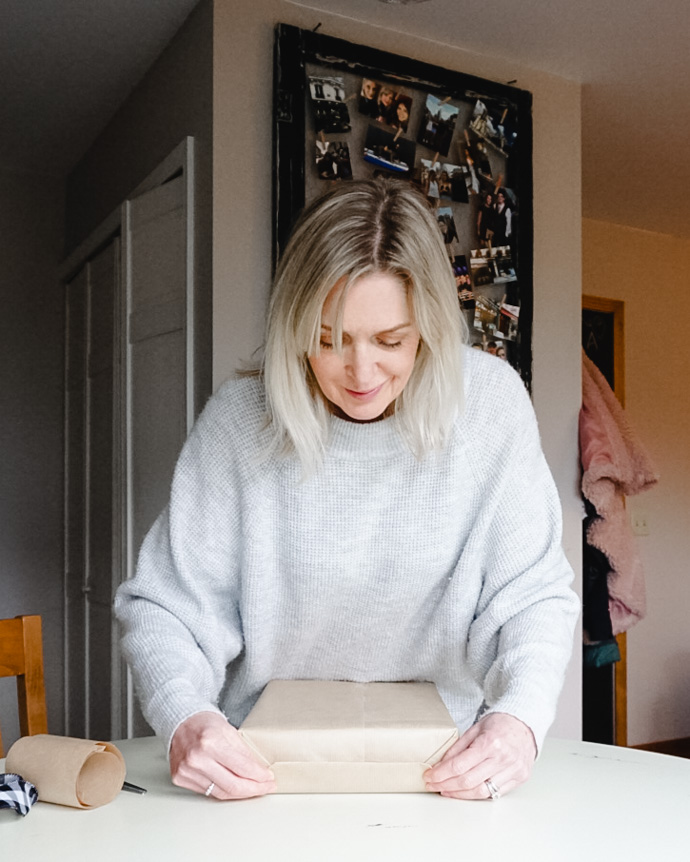
My husband considers me a wrapping genius. I got my skill from working in a neighborhood drugstore in college that sold cute little gifts and collectibles and offered gift wrapping. The expectation of having to deliver a perfectly wrapped gift to the customer helped me learn quickly. The first thing you need to do is place the box in the center of the paper, measure and cut, make sure there is enough to cover the box completely, and trim any excess on the sides.
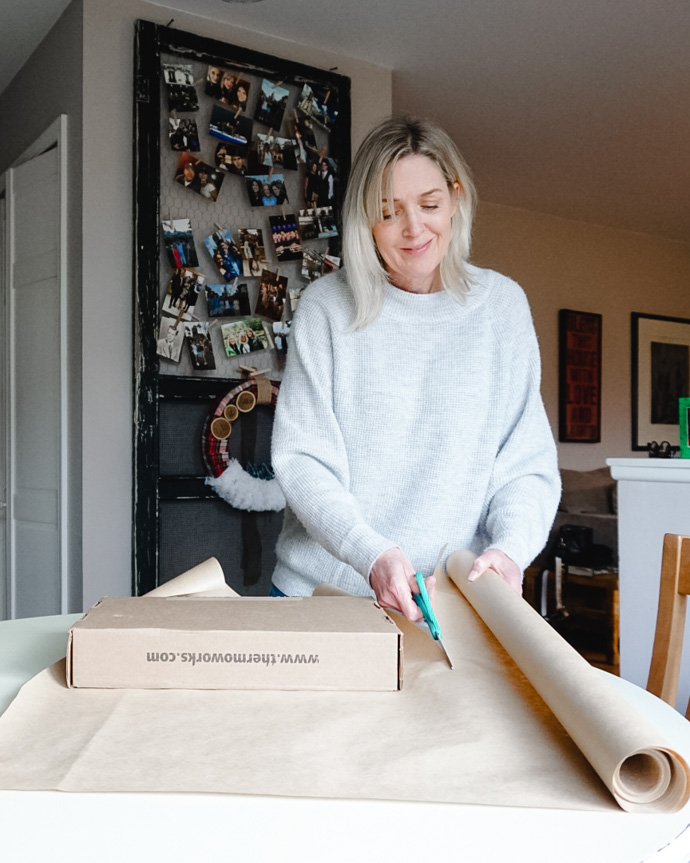
Next, you want to fold the sides in 1/4 inch and make a crease. It creates a sharp straight line to hide any cutting that wasn’t straight.
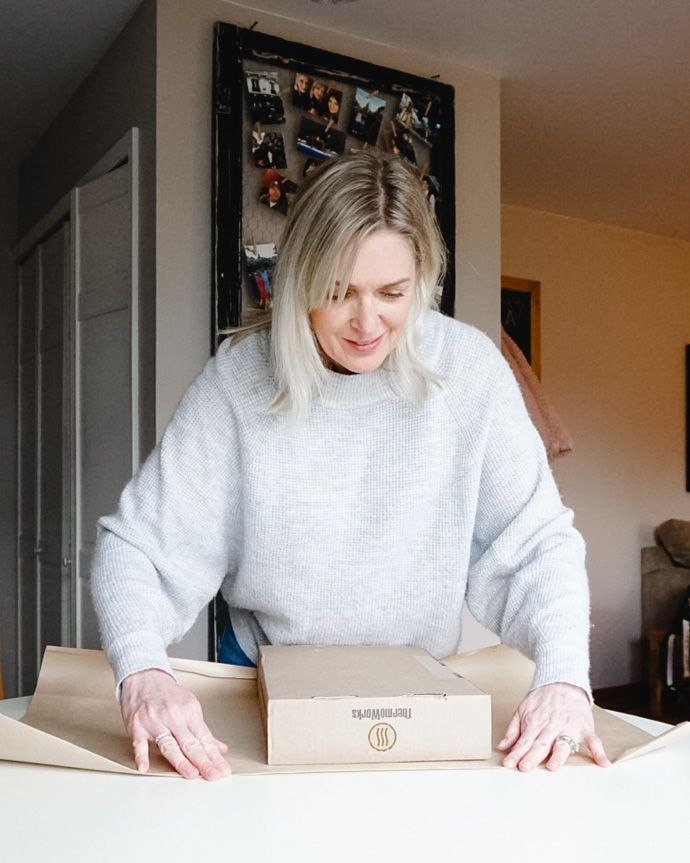
Tape down one side in the center, then fold the second side over the first one—tape in the center and towards each end.

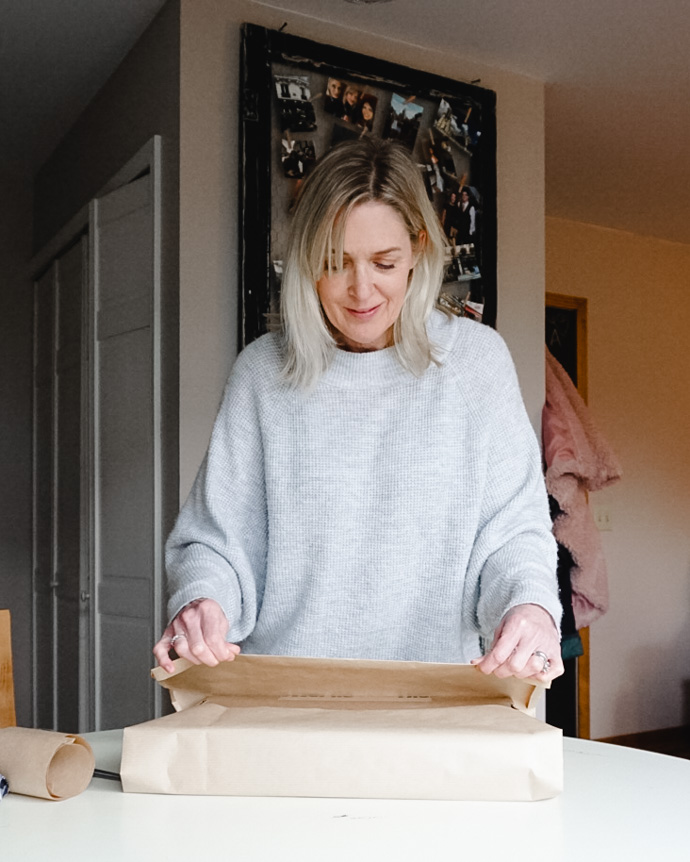
For the ends, fold down the top portion of the paper and tape. You’ll get triangles on each side. Crease each side folds and fold in. Then, crease the bottom flap, fold up, and tape. Repeat on the opposite side. Voilà, you’re done!
Craft Paper Wrapping Ideas
Holly, Pinecones, and Twine
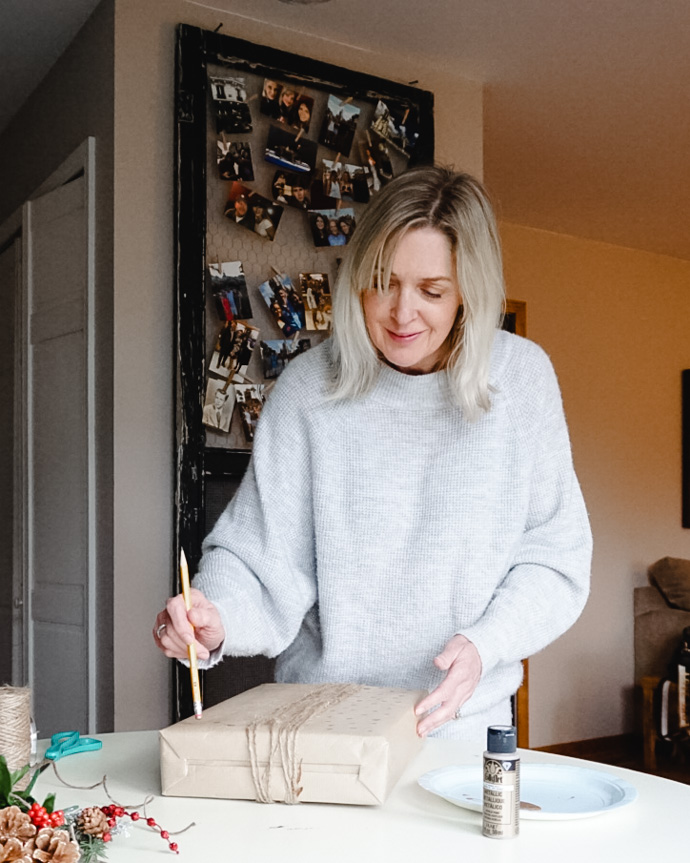
Wrap twine around the box 6 – 10 times.

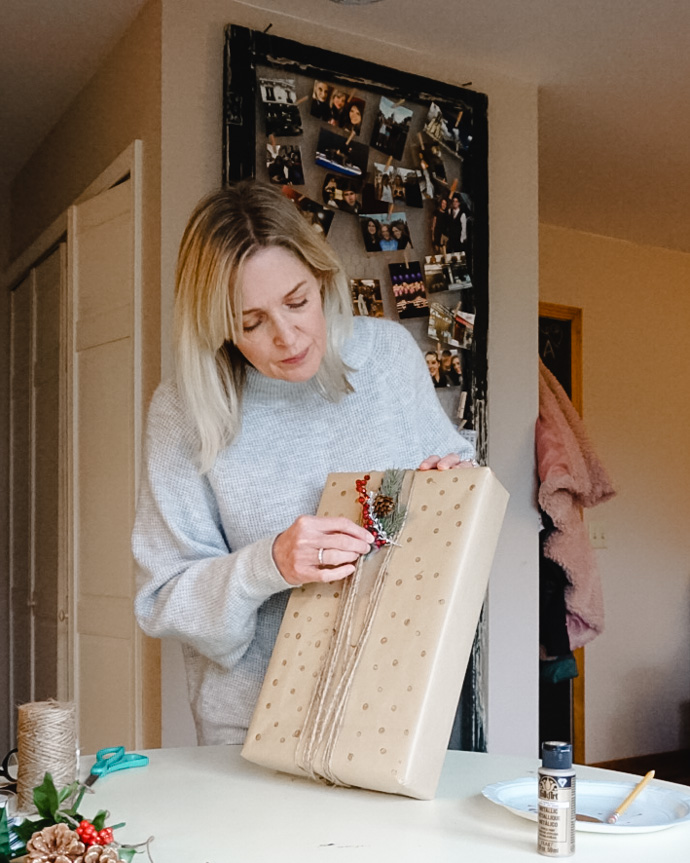
Hot glue the holly and pinecones, then add a gift tag.

Polka Dots
Taking the twine idea above up a notch, you’ll need a pencil, acrylic paint, or a rubber stamp pad. Using your pencil’s eraser, place little polka dots across your wrapped box. Allow to dry completely. I wrapped my box with twine first and then decided to add the dots. If you’re going to use ribbon, I recommend waiting for the box to dry. Then finish off by securing any embellishments with hot glue and add a gift tag.

Basic Bow
Measure your box’s height and width, then multiply by 5 to get the length of ribbon needed. Find the middle of the ribbon and place it over the center of the box. Fold the ribbon over the edges, bring it together at the back of the box, and twist it together.


Bring the ribbon up and over the edges to the front.

Tie in a knot around the verticle ribbon. Take the loose ends and tie in a bow. Adjust the loops, fluff out and trim the ends.

Add any embellishments, secure with hot glue, and add a gift tag.

I hope you liked these unique and simple ways to wrap gifts using craft paper. They will dress up your holiday gifts and wow your gift recipient!
As always, thank you for reading!
Also see: Holiday Mason Jar DIY’s and Vintage Bucket Ornament DIY
If you liked this post, you can subscribe here or follow me on Feedly | Bloglovin | Instagram | Pinterest | Facebook
Linking up here.


Leave a Reply