Happy St Patrick’s Day! How are you keeping busy with social distancing? We moved on Sunday, and between unpacking and getting organized, we haven’t really felt the effects yet. But with that distraction, I completely blanked on today’s blog post. So, since we’re all stranded in our homes and spring is right around the corner, I thought I’d re-share an easy DIY that will give you a project to do and get you a jumpstart on your outdoor patio decorating. I originally posted my DIY Solar Mason Jar Patio Lights tutorial when I first started my blog back in the spring of 2014, and it’s still one of my most viewed DIY posts! But, if you need some St Patrick’s Day outfit inspiration, check out this post!
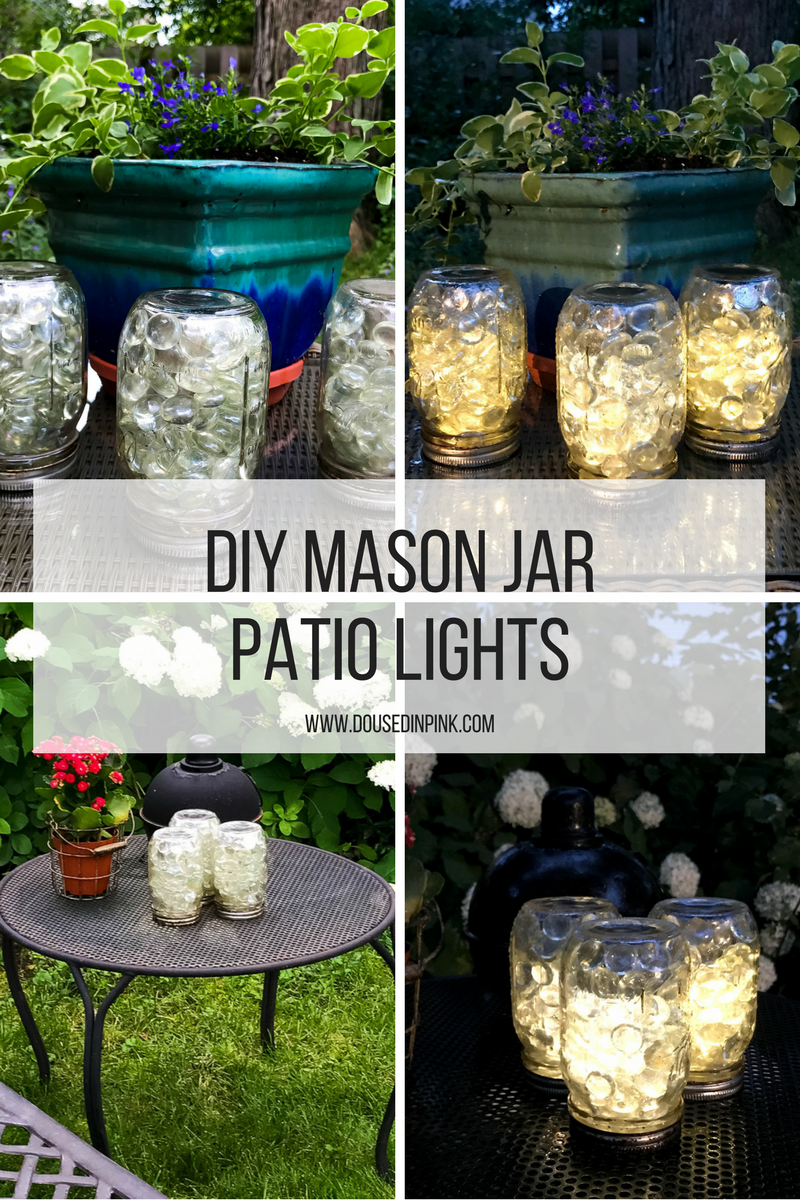
How to Make Mason Jar Patio Lights
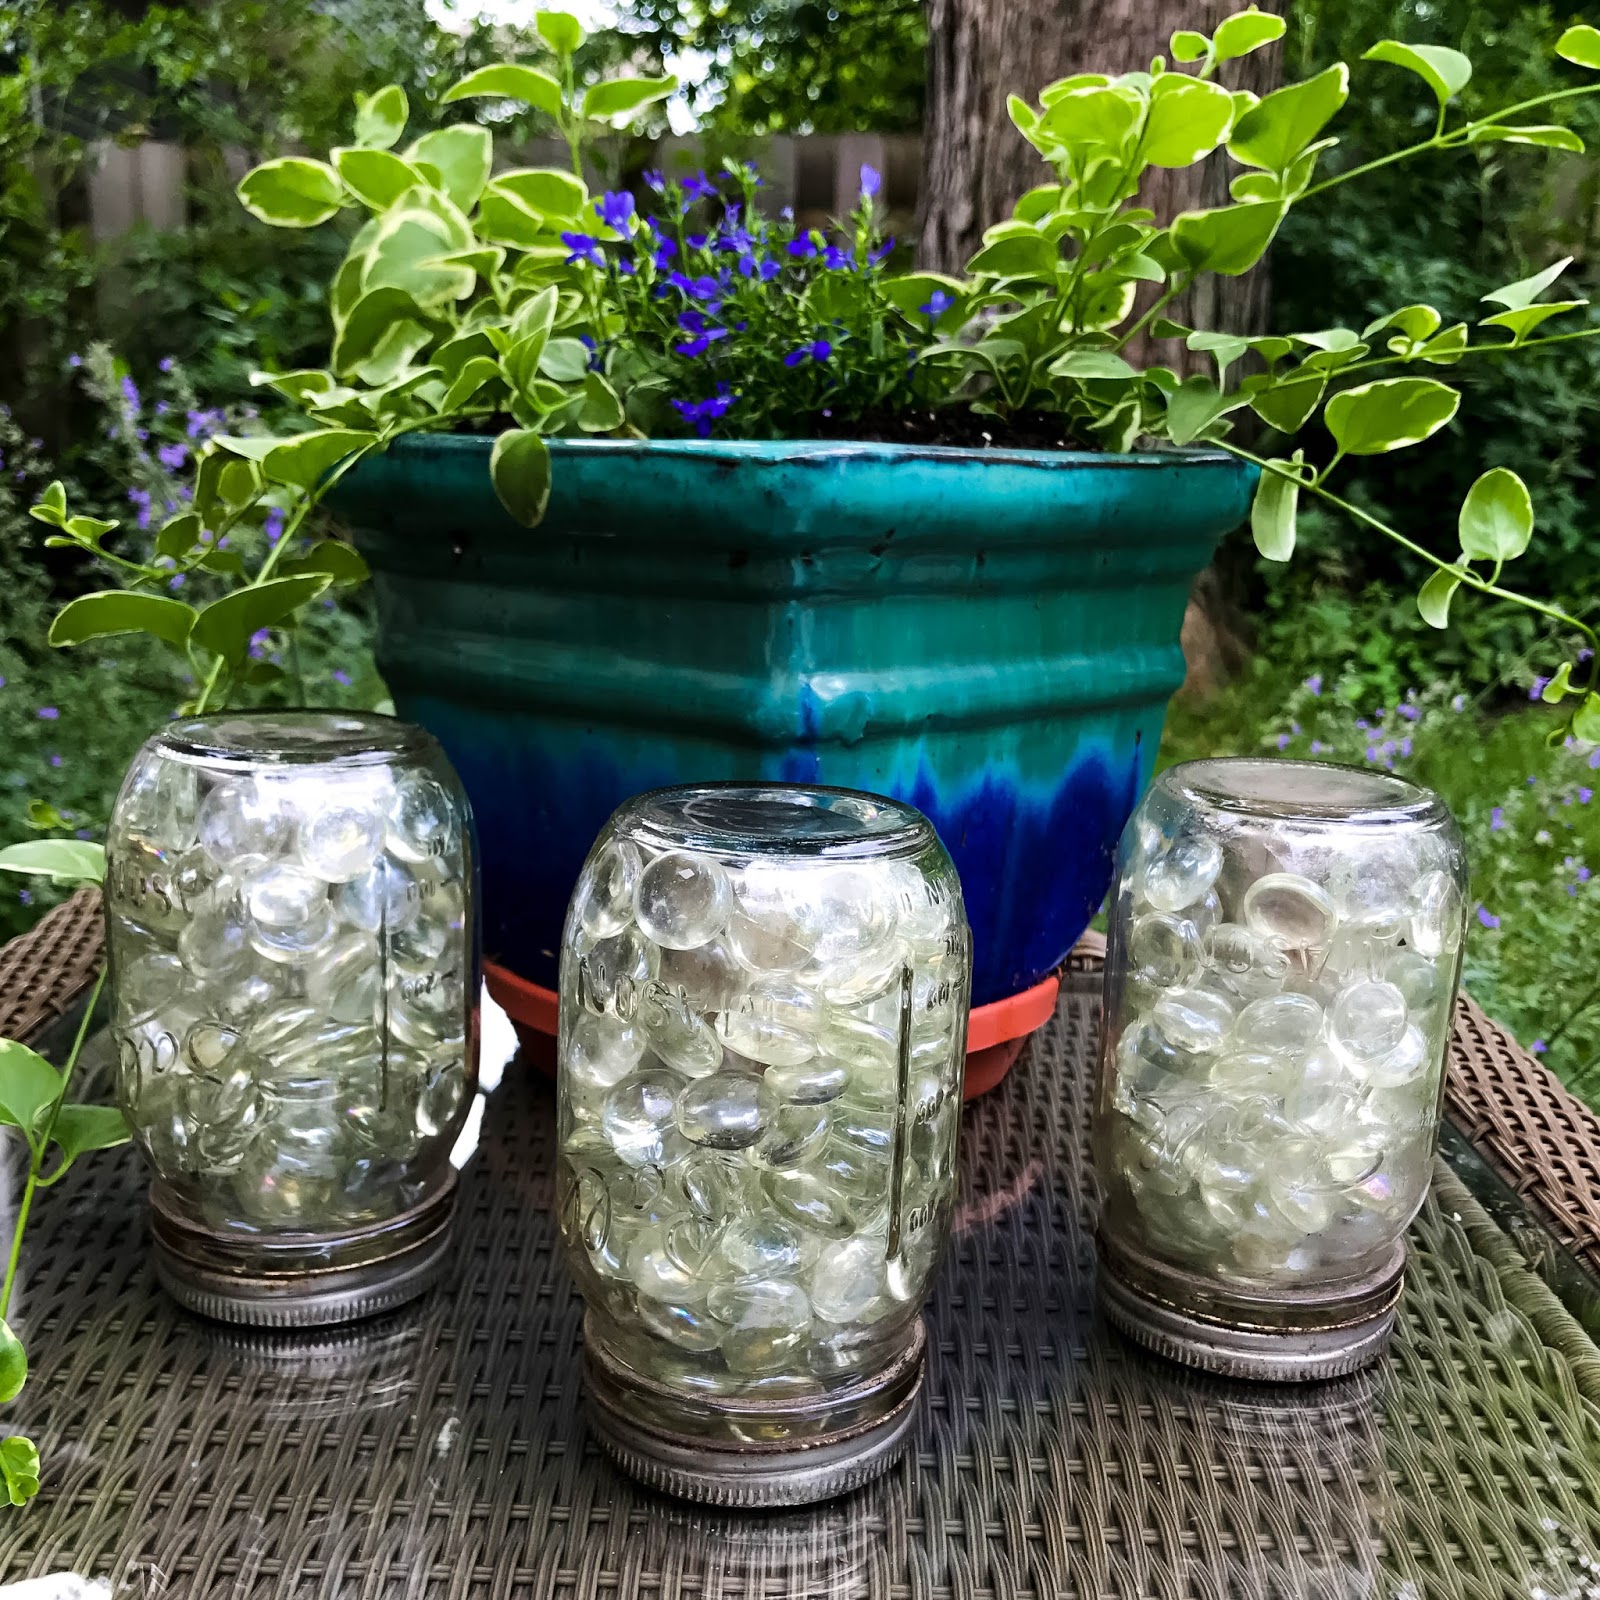
Mason Jar Lights Supplies
For reference, I used 16 oz mason jars and 1 bag of glass gems for each jar. The solar lights were on sale at Target for $1 each, and Dollar Tree has bags of glass gems for $1 each.

Solar Patio Lights Instructions
–
Remove the stake from the solar light. Unscrew the top cap where the light is housed and turn the light on by removing the strip, then replace the cap.

Insert the light face down in the mason jar.

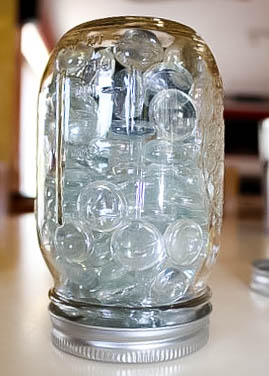
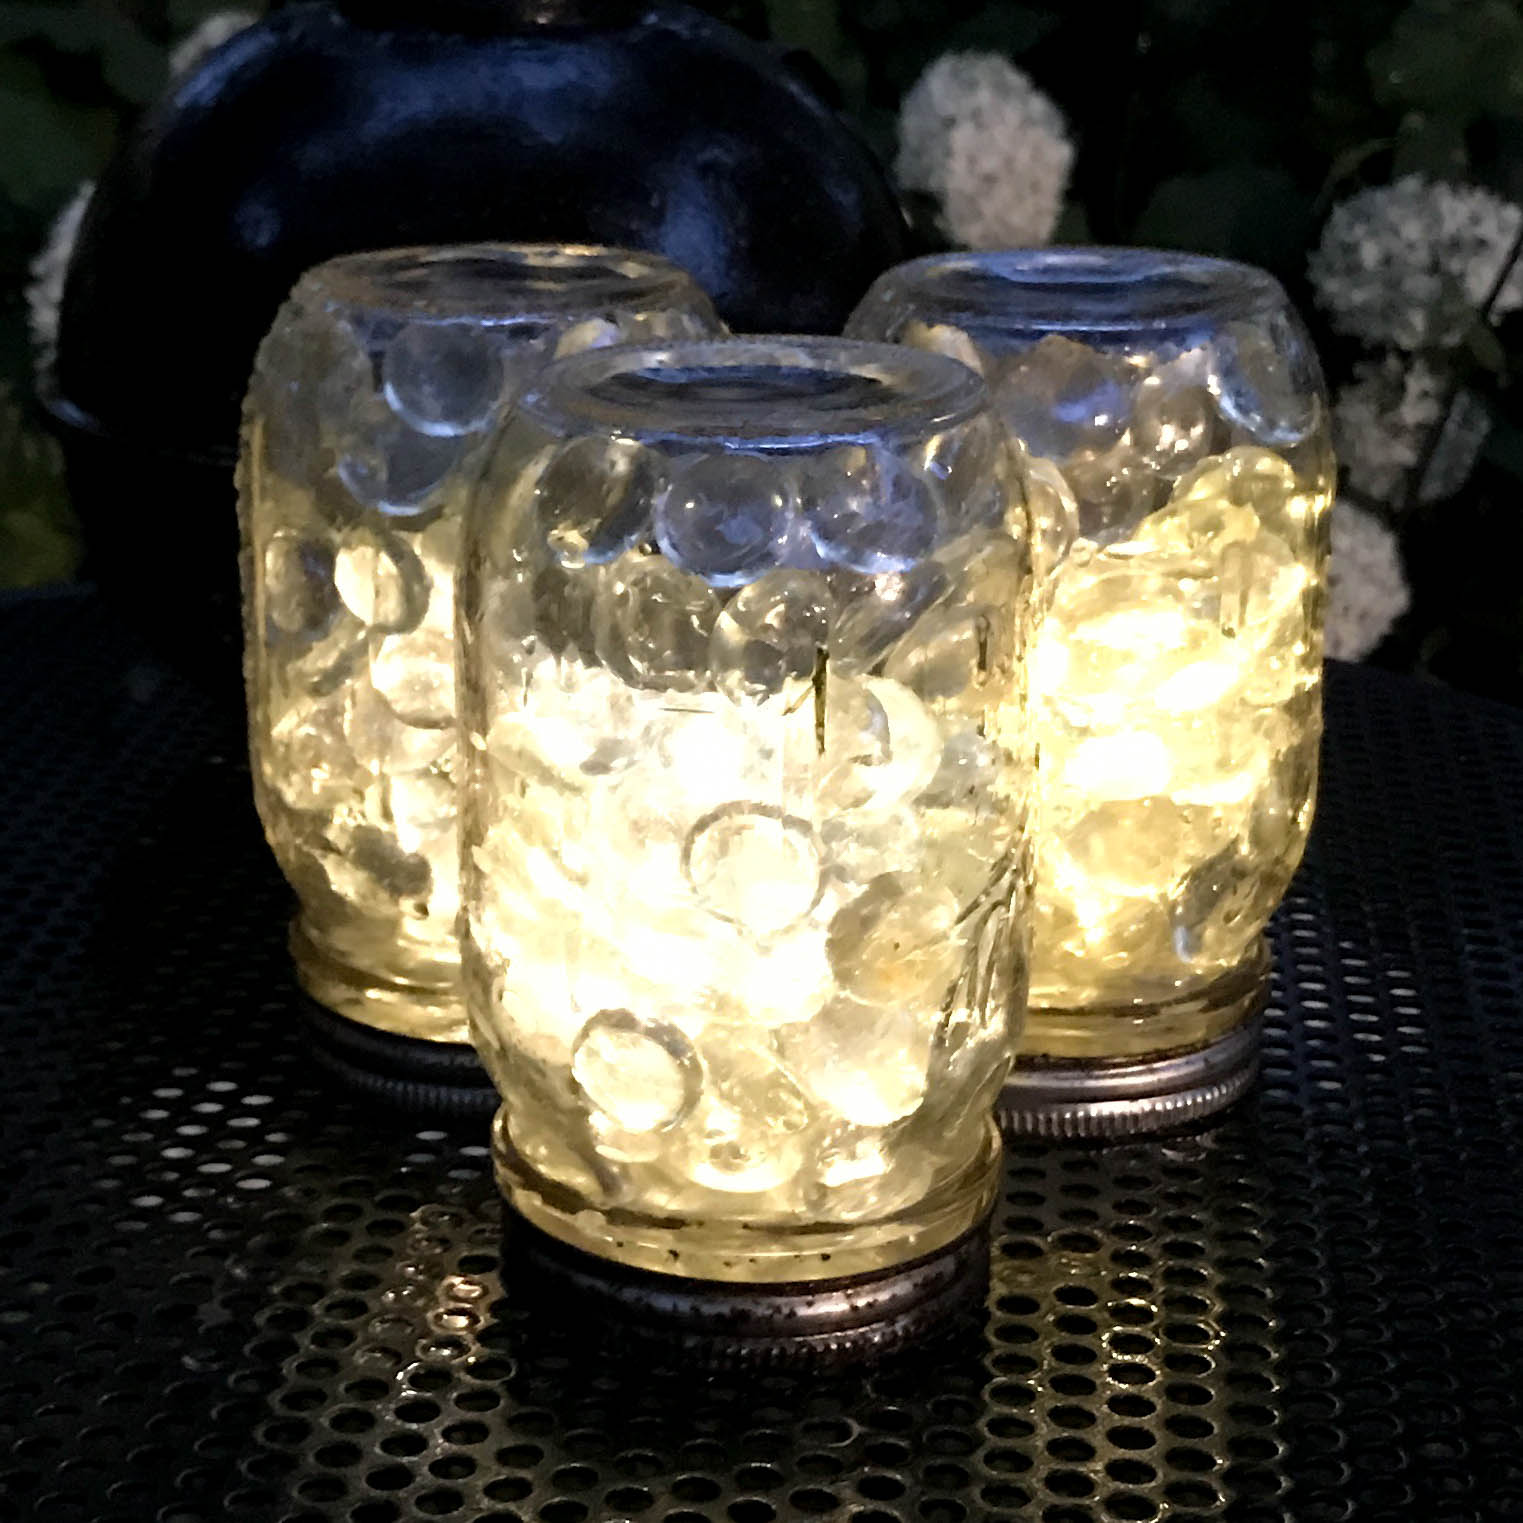
Fill the mason jar with the glass gems.

Replace the lid on the jar, and you’re done!
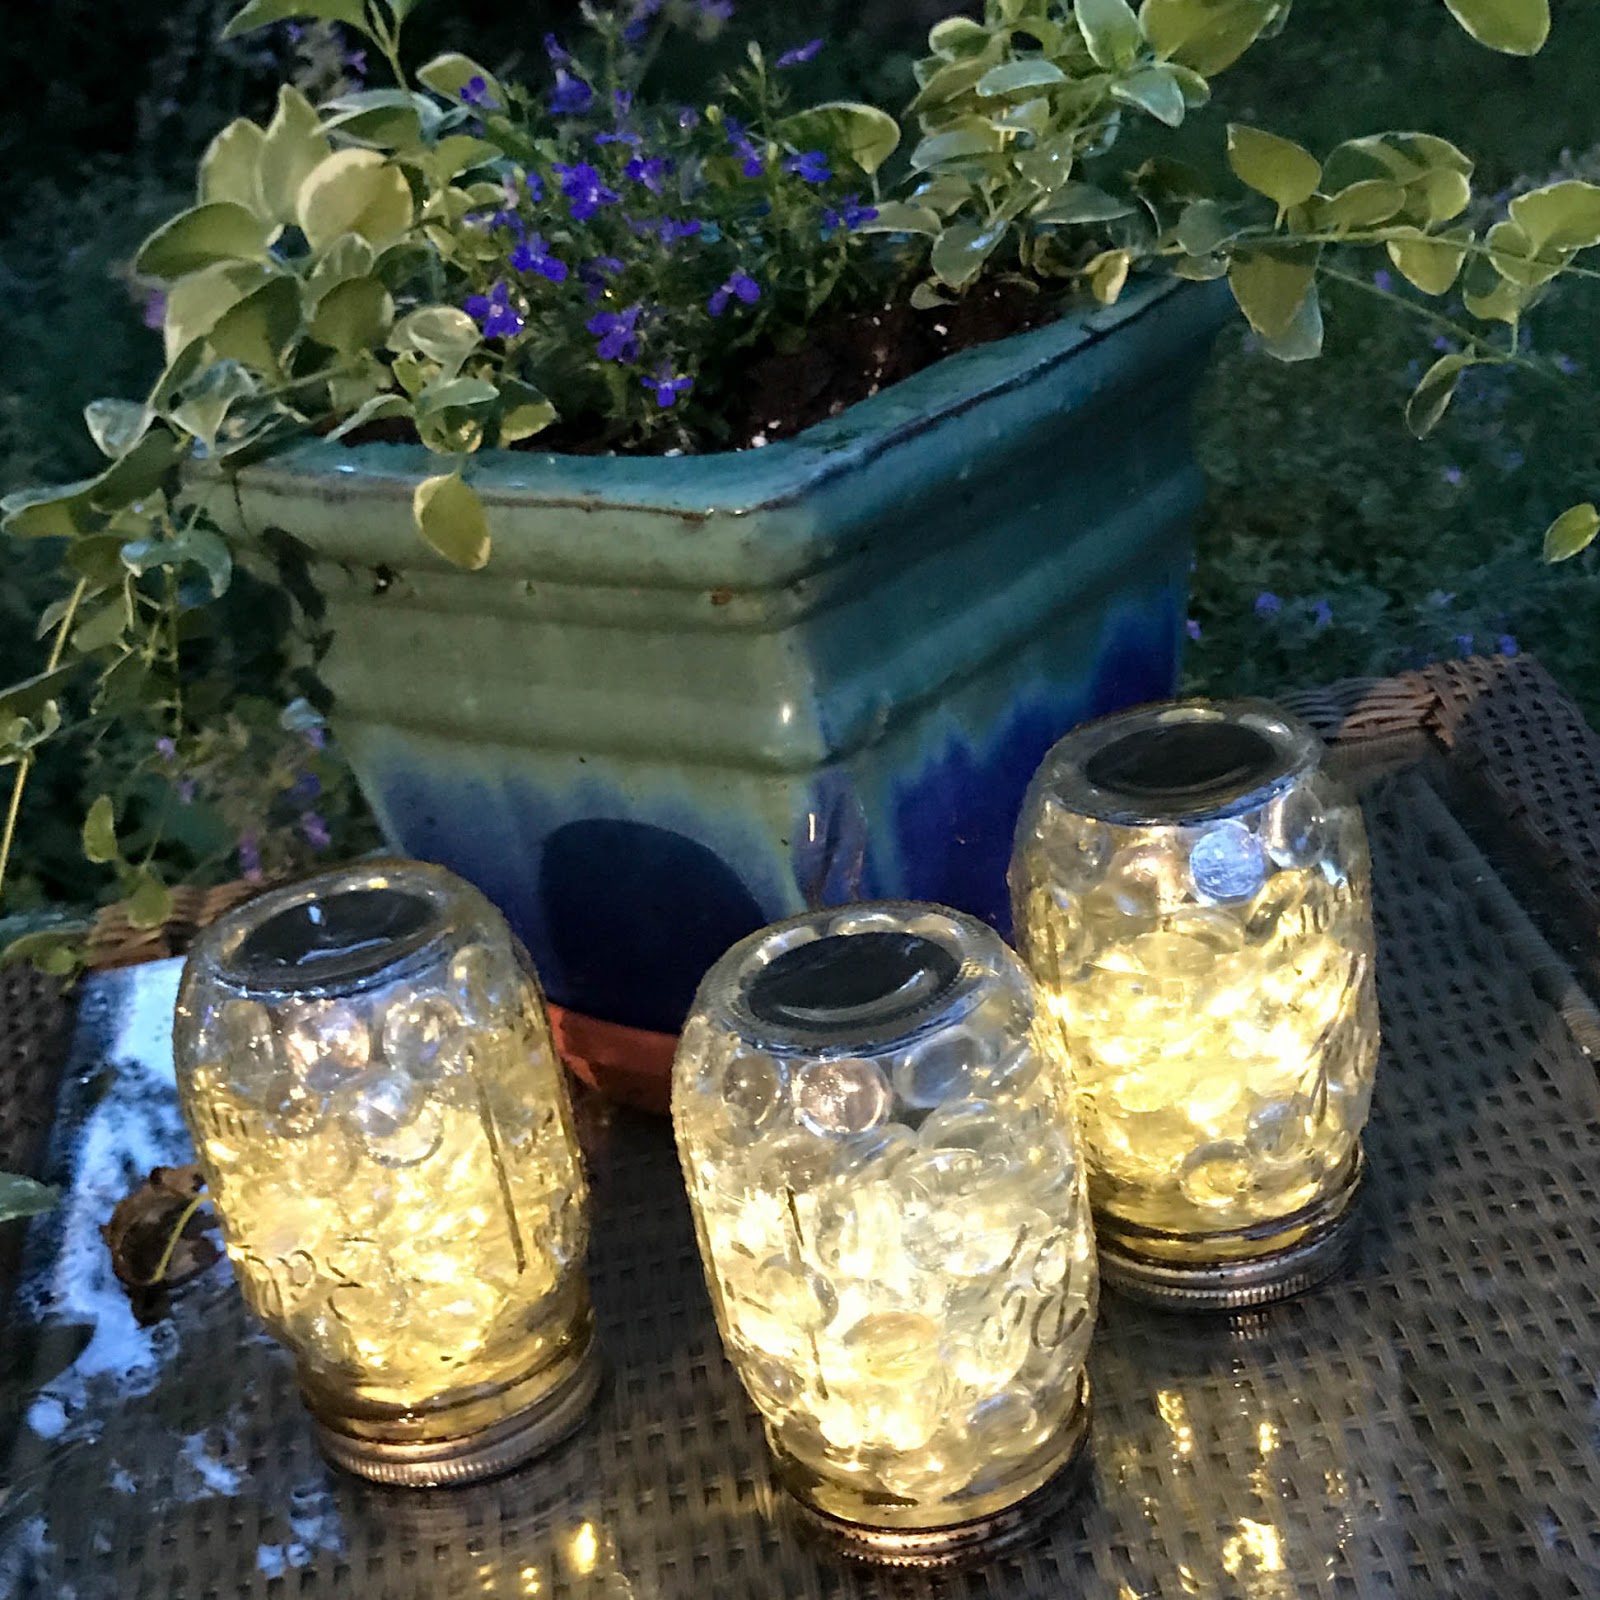
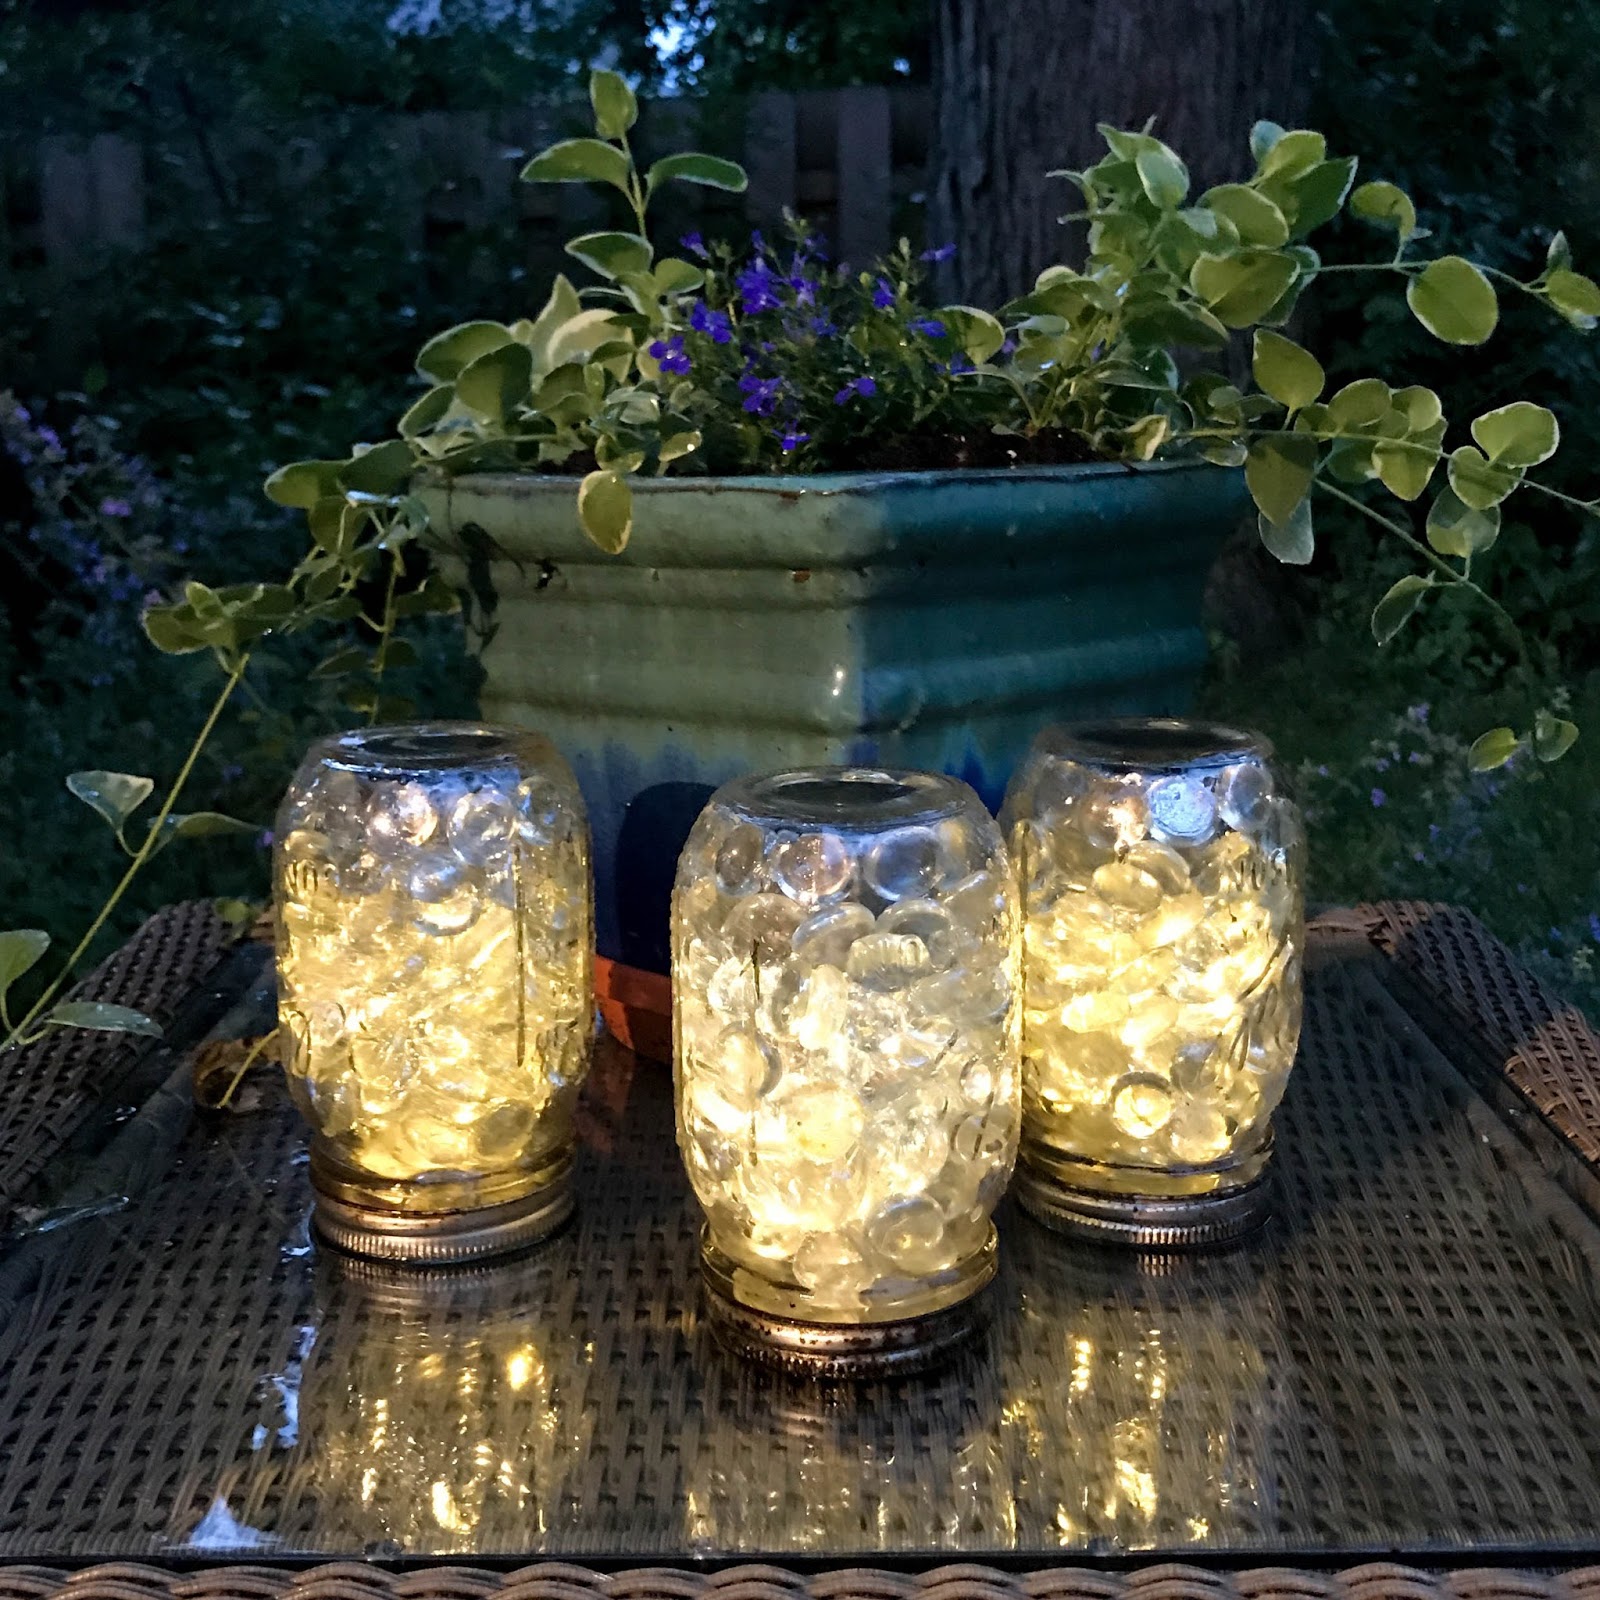
Let them sit in the sun with the light side up for the day, and they will be glowing all night.

Another Way to Display Solar Lights
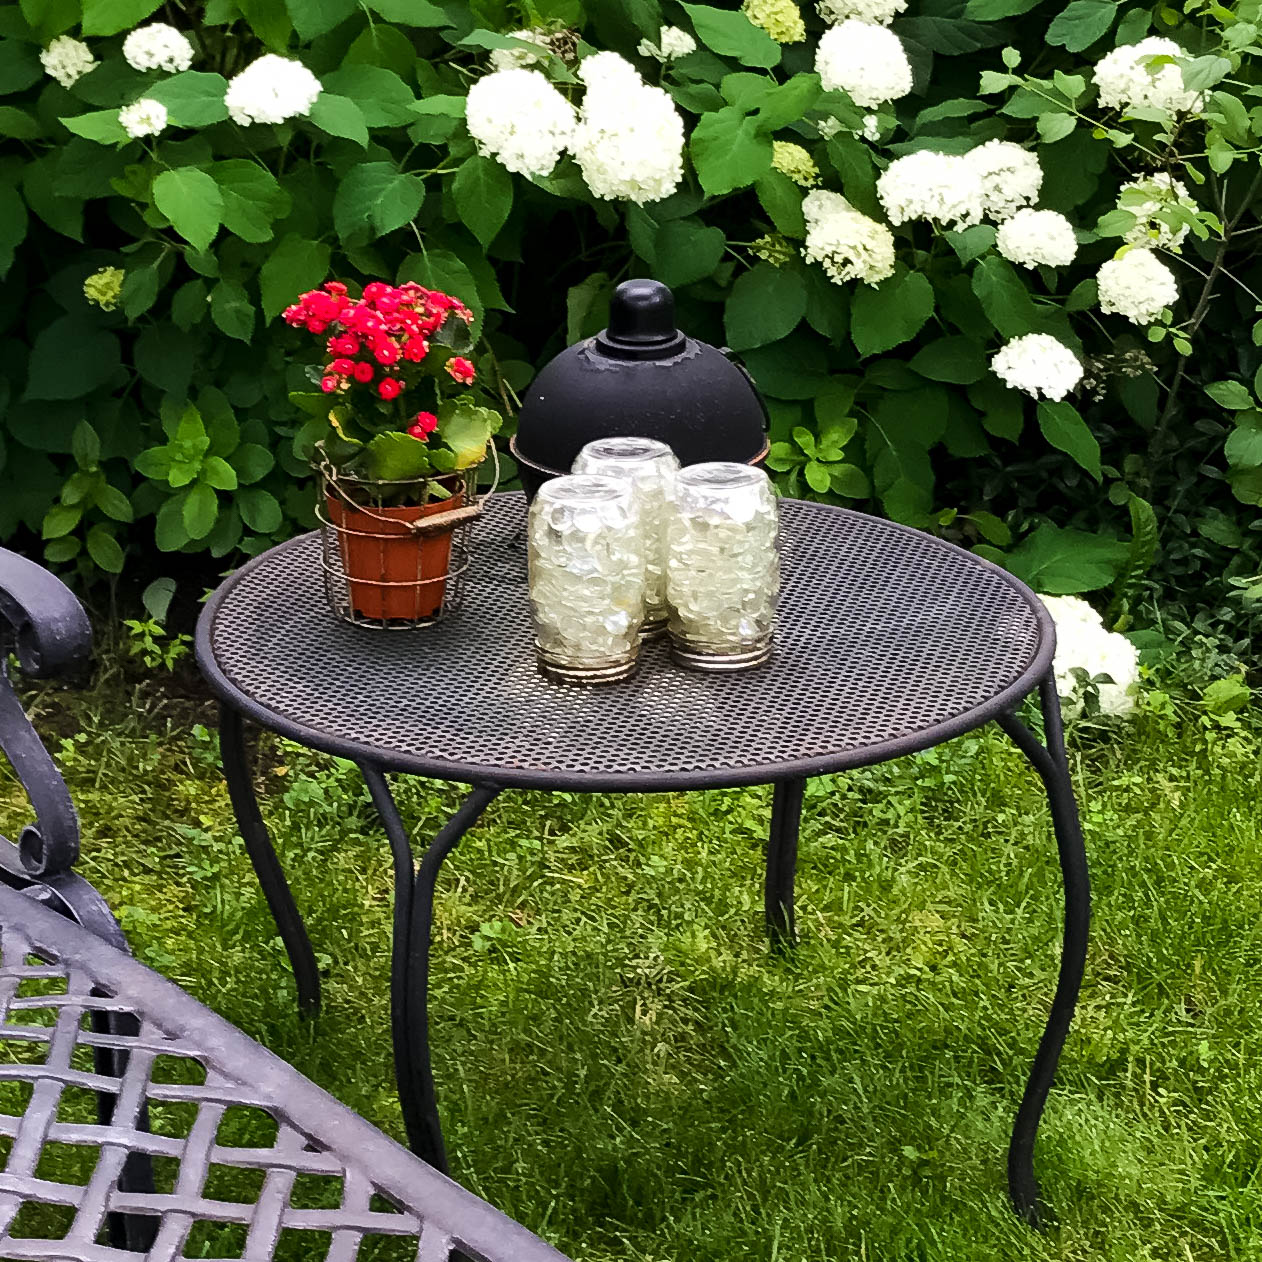
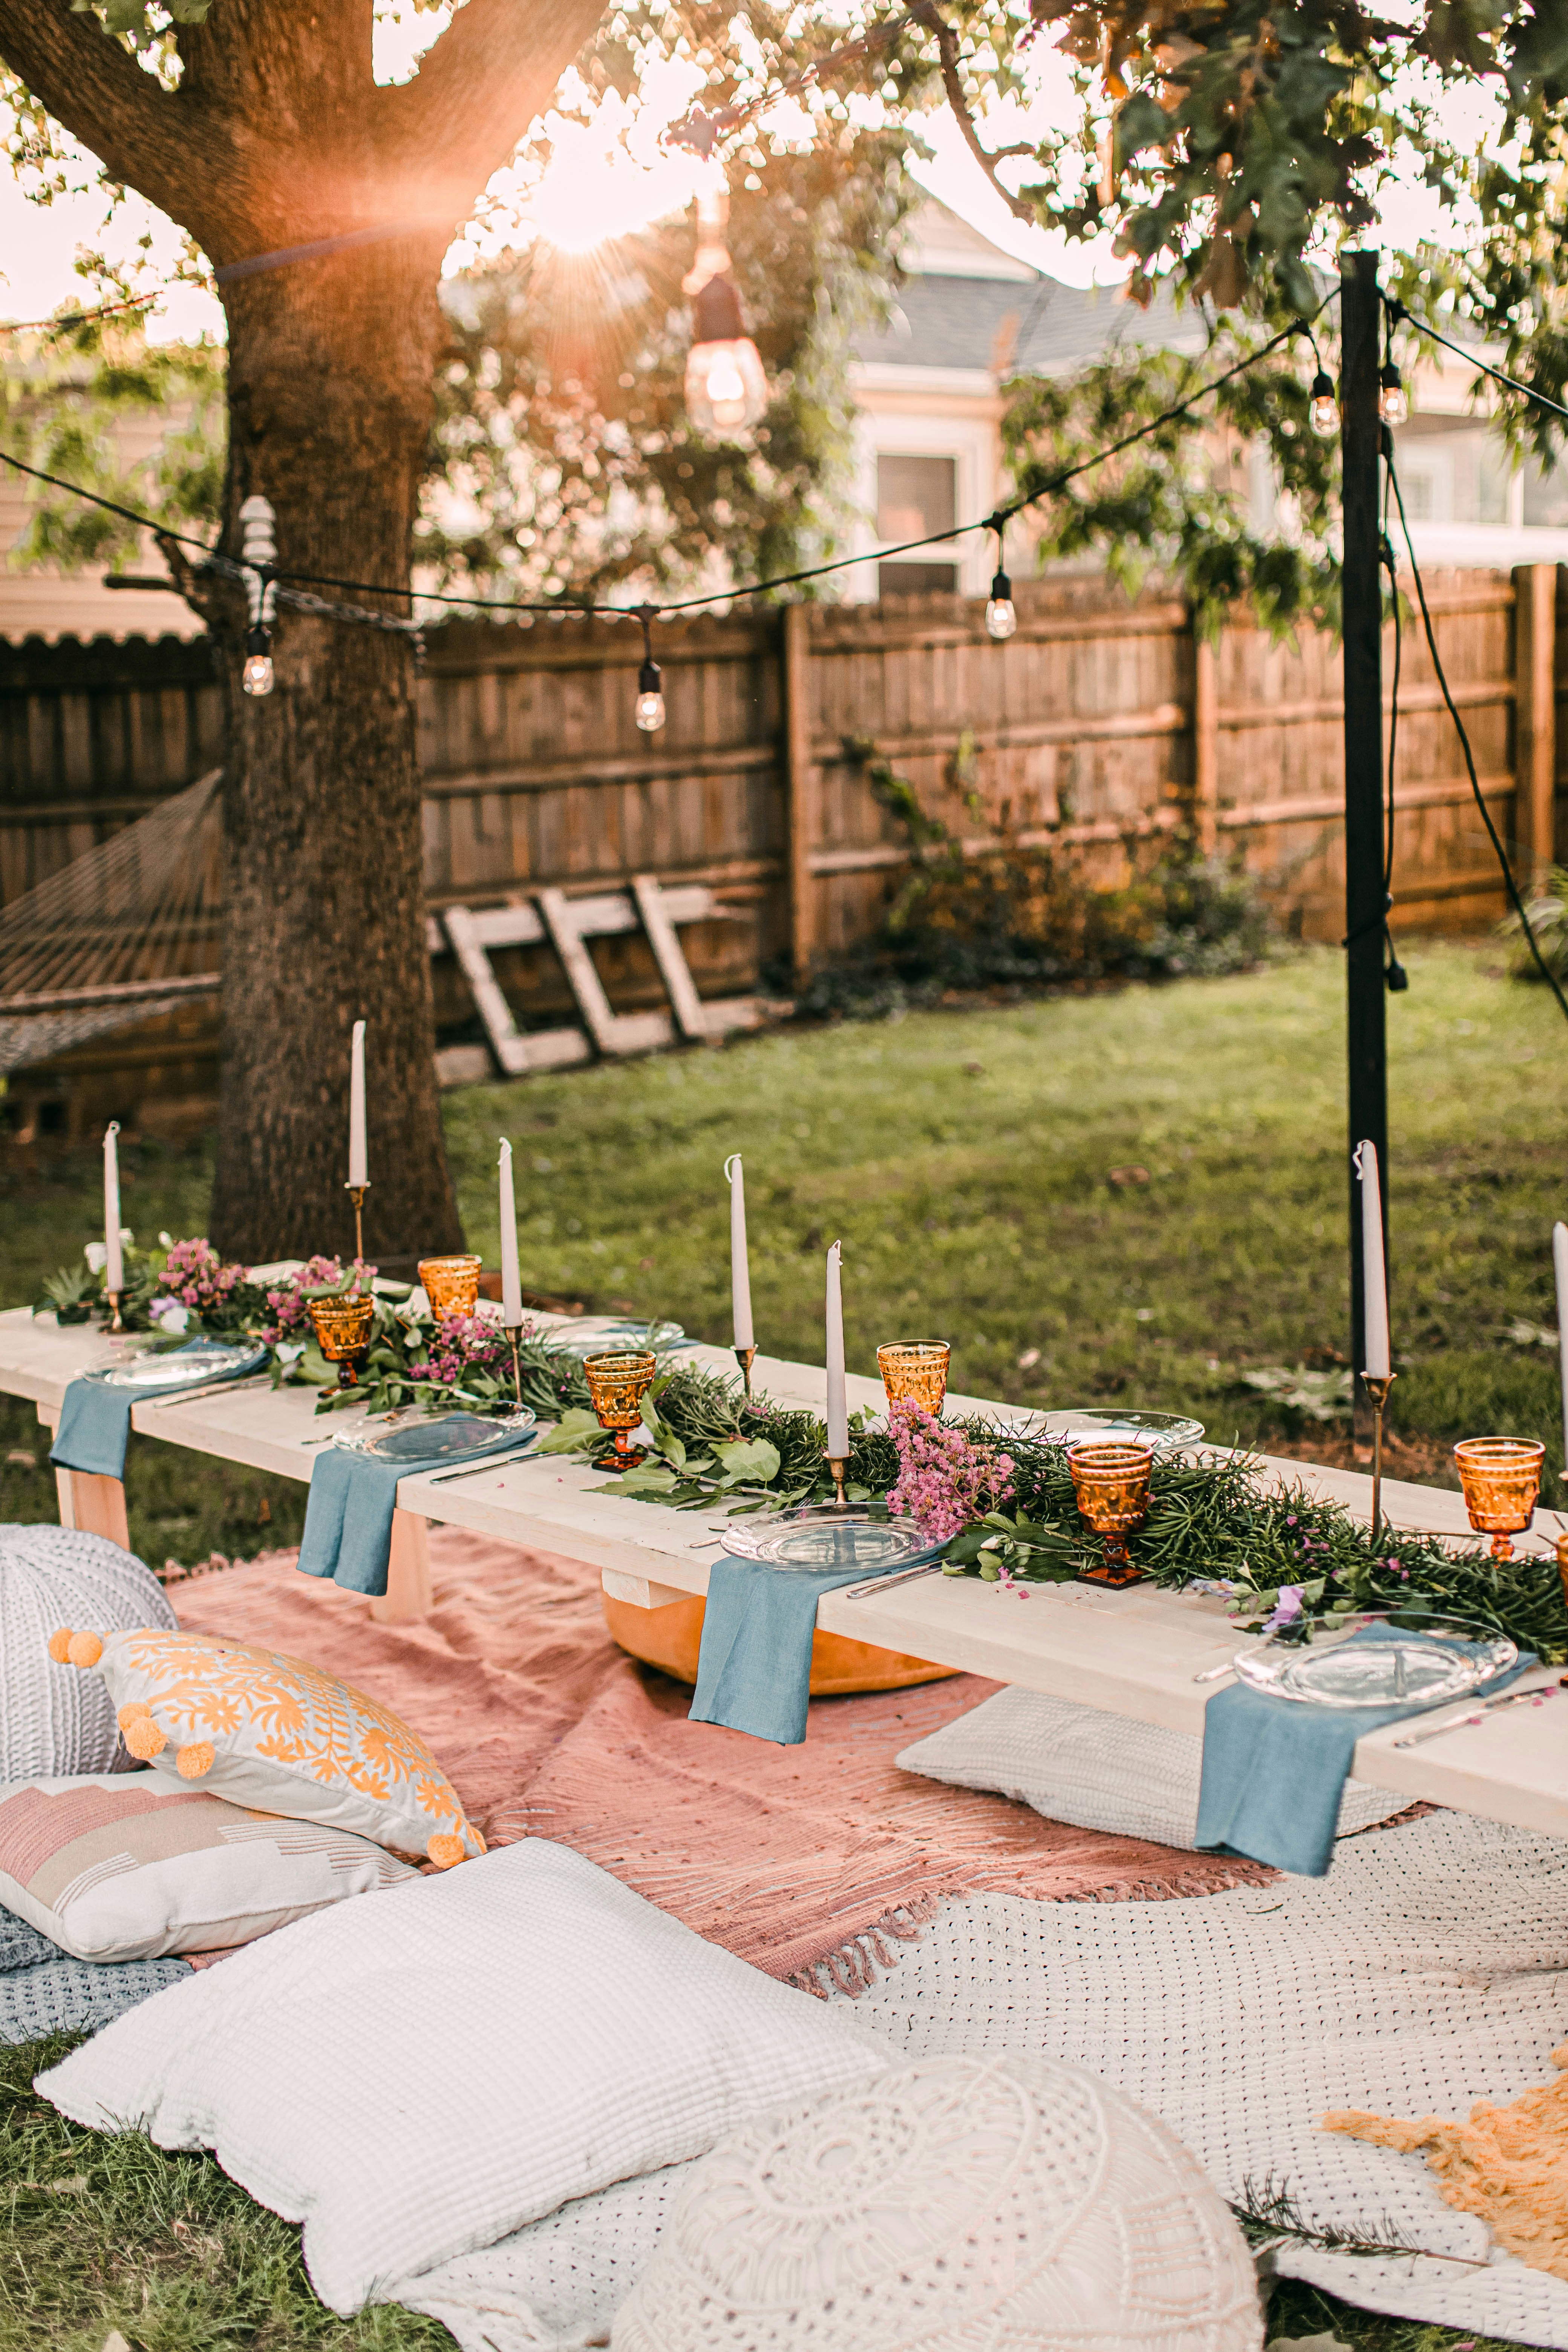
My favorite thing about these lights is that you can move them around and use them anywhere outside. On the patio table, along a seating wall or walkway. You can also use heavy-duty, flexible wire and hooks to hang them from tree branches!
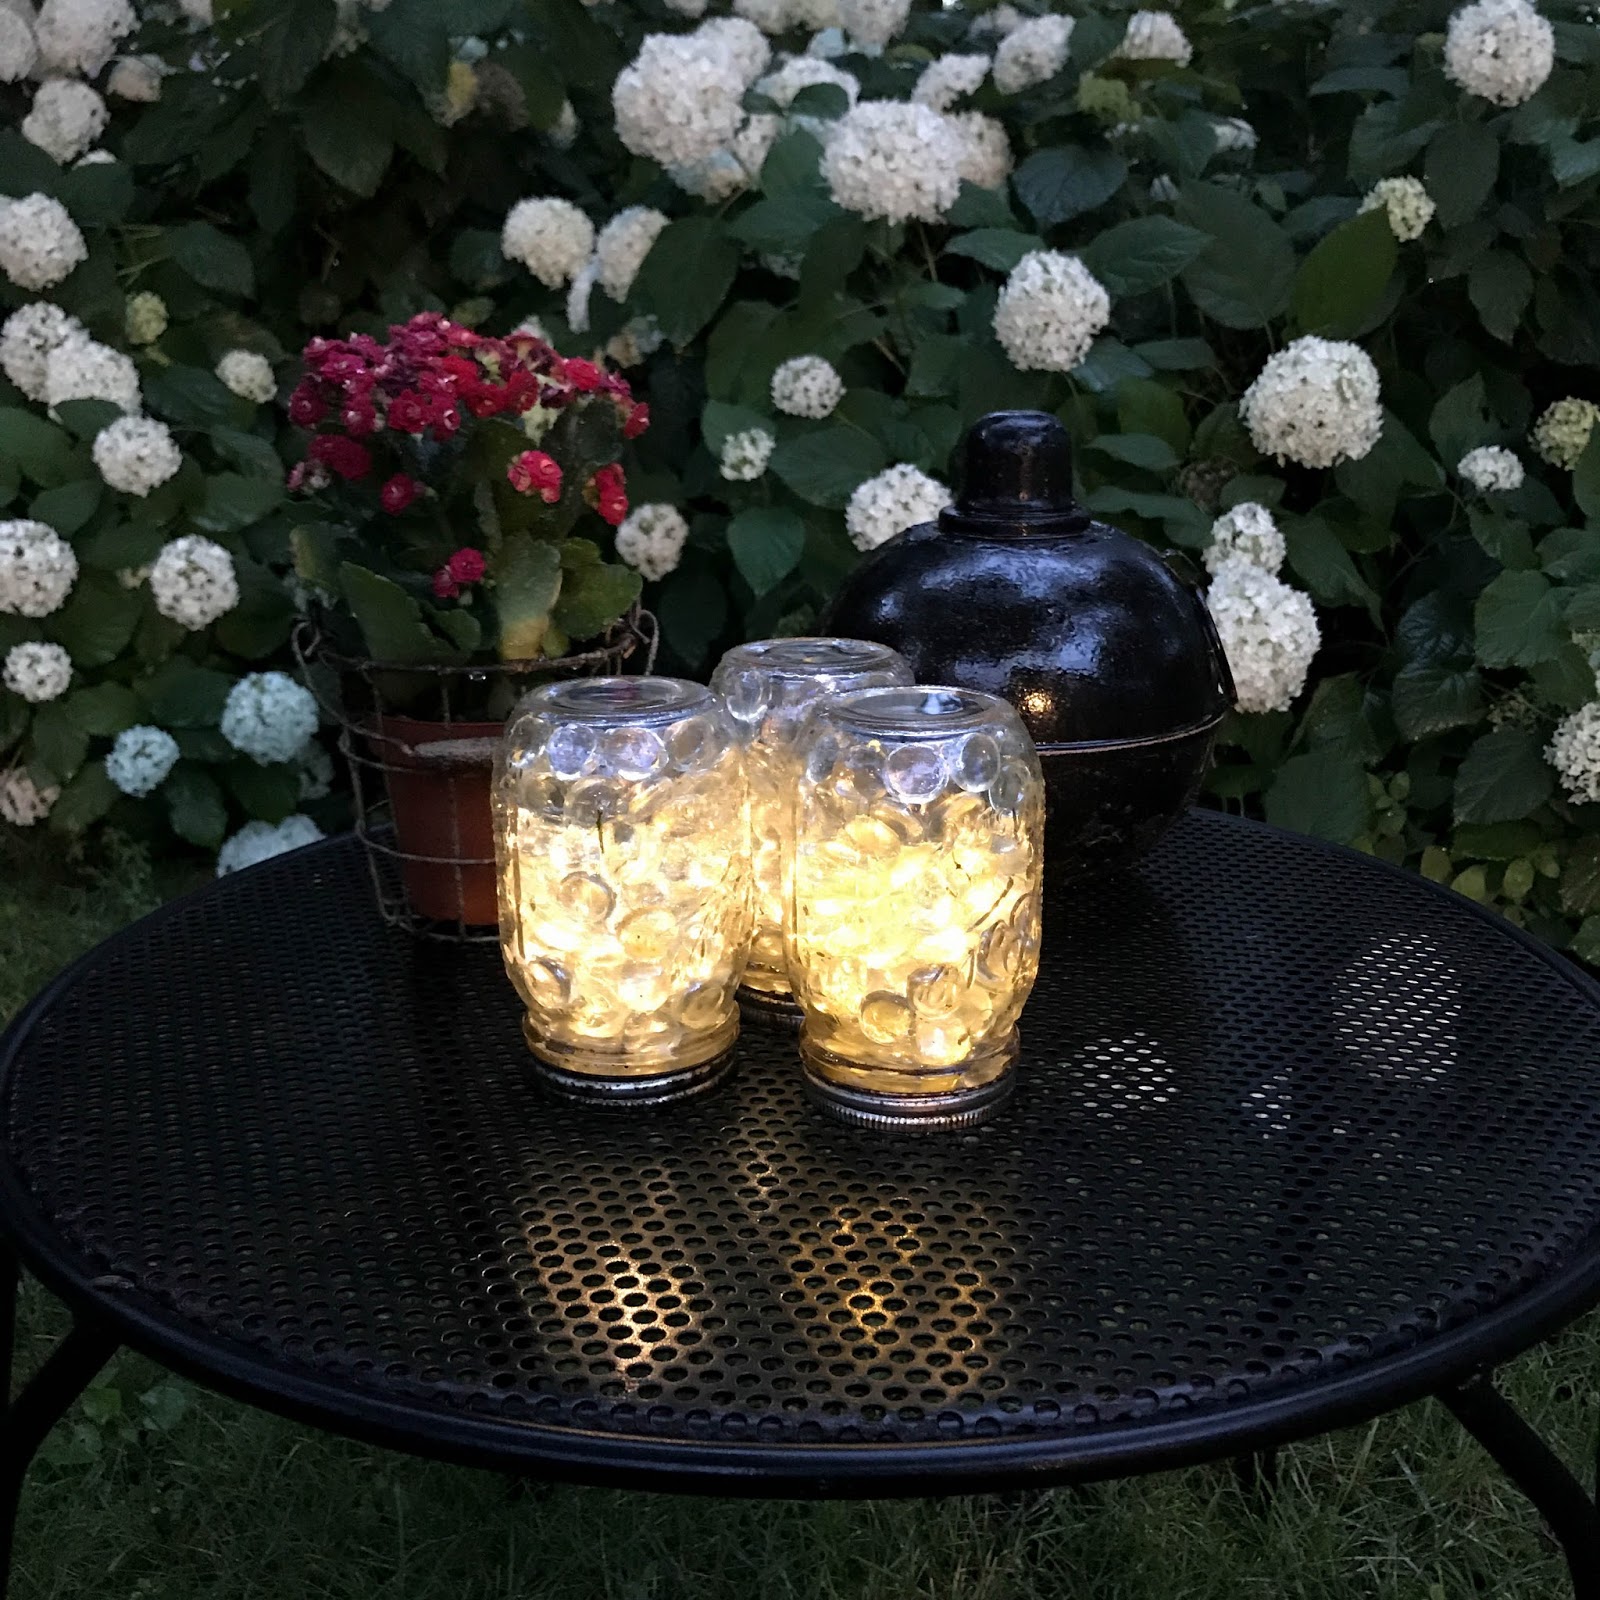
There you have it! This DIY solar mason jar patio lights project costs less than $15 to make, and I get so many compliments on them! I hope this will inspire you to try it for your backyard or patio!
Thank you for reading!
Also see: 3 Simple Farmhouse DIYs and Holiday Mason Jar DIYs
If you liked this post, you can subscribe here or follow me on Feedly | Bloglovin | Instagram | Pinterest | Facebook
Linking up here.
this is super cute and easy to do! love it
xoxo
style frontier
these are so cute and I think it’s a project even I could do! Thanks for sharing Jill.
Oh my goodness, what a great idea! I’ll need to re-create these, I love any kind of twinkle light and these are so pretty, they’d be great throughout my flower beds!
xo,
Kellyann
These are so pretty, what a creative way to use those solar lights! I love how they look!
I love this idea. I’ll have to give it a try!!! Good re-share! Happy St. Patrick’s Day! XO
These are so cool! I need make these for my deck. Now only if it would warm up faster!
https://www.kathrineeldridge.com
i need to do this when i have a garden! so beautiful beautiful post my friend!
JadieeGosh
What a brilliant idea Jill!! We have solar lights on our porch, but we always need more!!
XOXO
Jodie
http://www.jtouchofstyle.com
How pretty!!
They give such a romantic look! love it
What a good and cute idea! I have those kind of lights every where on our patio in summer.
Wow! Such a neat idea! I never thought about doing this before. And now I have all the time in the world to try! 🙂
Shauna
http://www.lipglossandlace.net
I love this post of yours, Jill! They’re so beautiful lit up. Moving is sooo much work!
Carrie
curlycraftymom.com
These turned out so well! I am loving DIY ideas right now.
Amy Ann
Straight A Style
Such a great DIY hon, stay safe 🙂 xx
They look so pretty
These are super adorable dear! Great DIY project.
Jessica | notjessfashion.com
Jill, these are awesome! I need to give this a try if we ever get our yard up and running for spring. It is still so cold here with snow in the forecast. But I imagine spring and summer are going to spent in isolation so why not make our personal space more enjoyable! Thanks for sharing and linking up. I hope you are settling into the new home easily.
Shelbee
http://www.shelbeeontheedge.com
What an impressive and inexpensive DIY idea, Jill! Never knew it was that easy! Thank you for sharing!
http://lizzyslatest.com/
What a great idea. Love these. I want some for my garden now 🙂 Thanks for sharing at Stay Home Save Lives: Motivational Monday Link-Up. Off to share and pin now.
I’m so glad you liked it! They look really pretty at night all lit up!